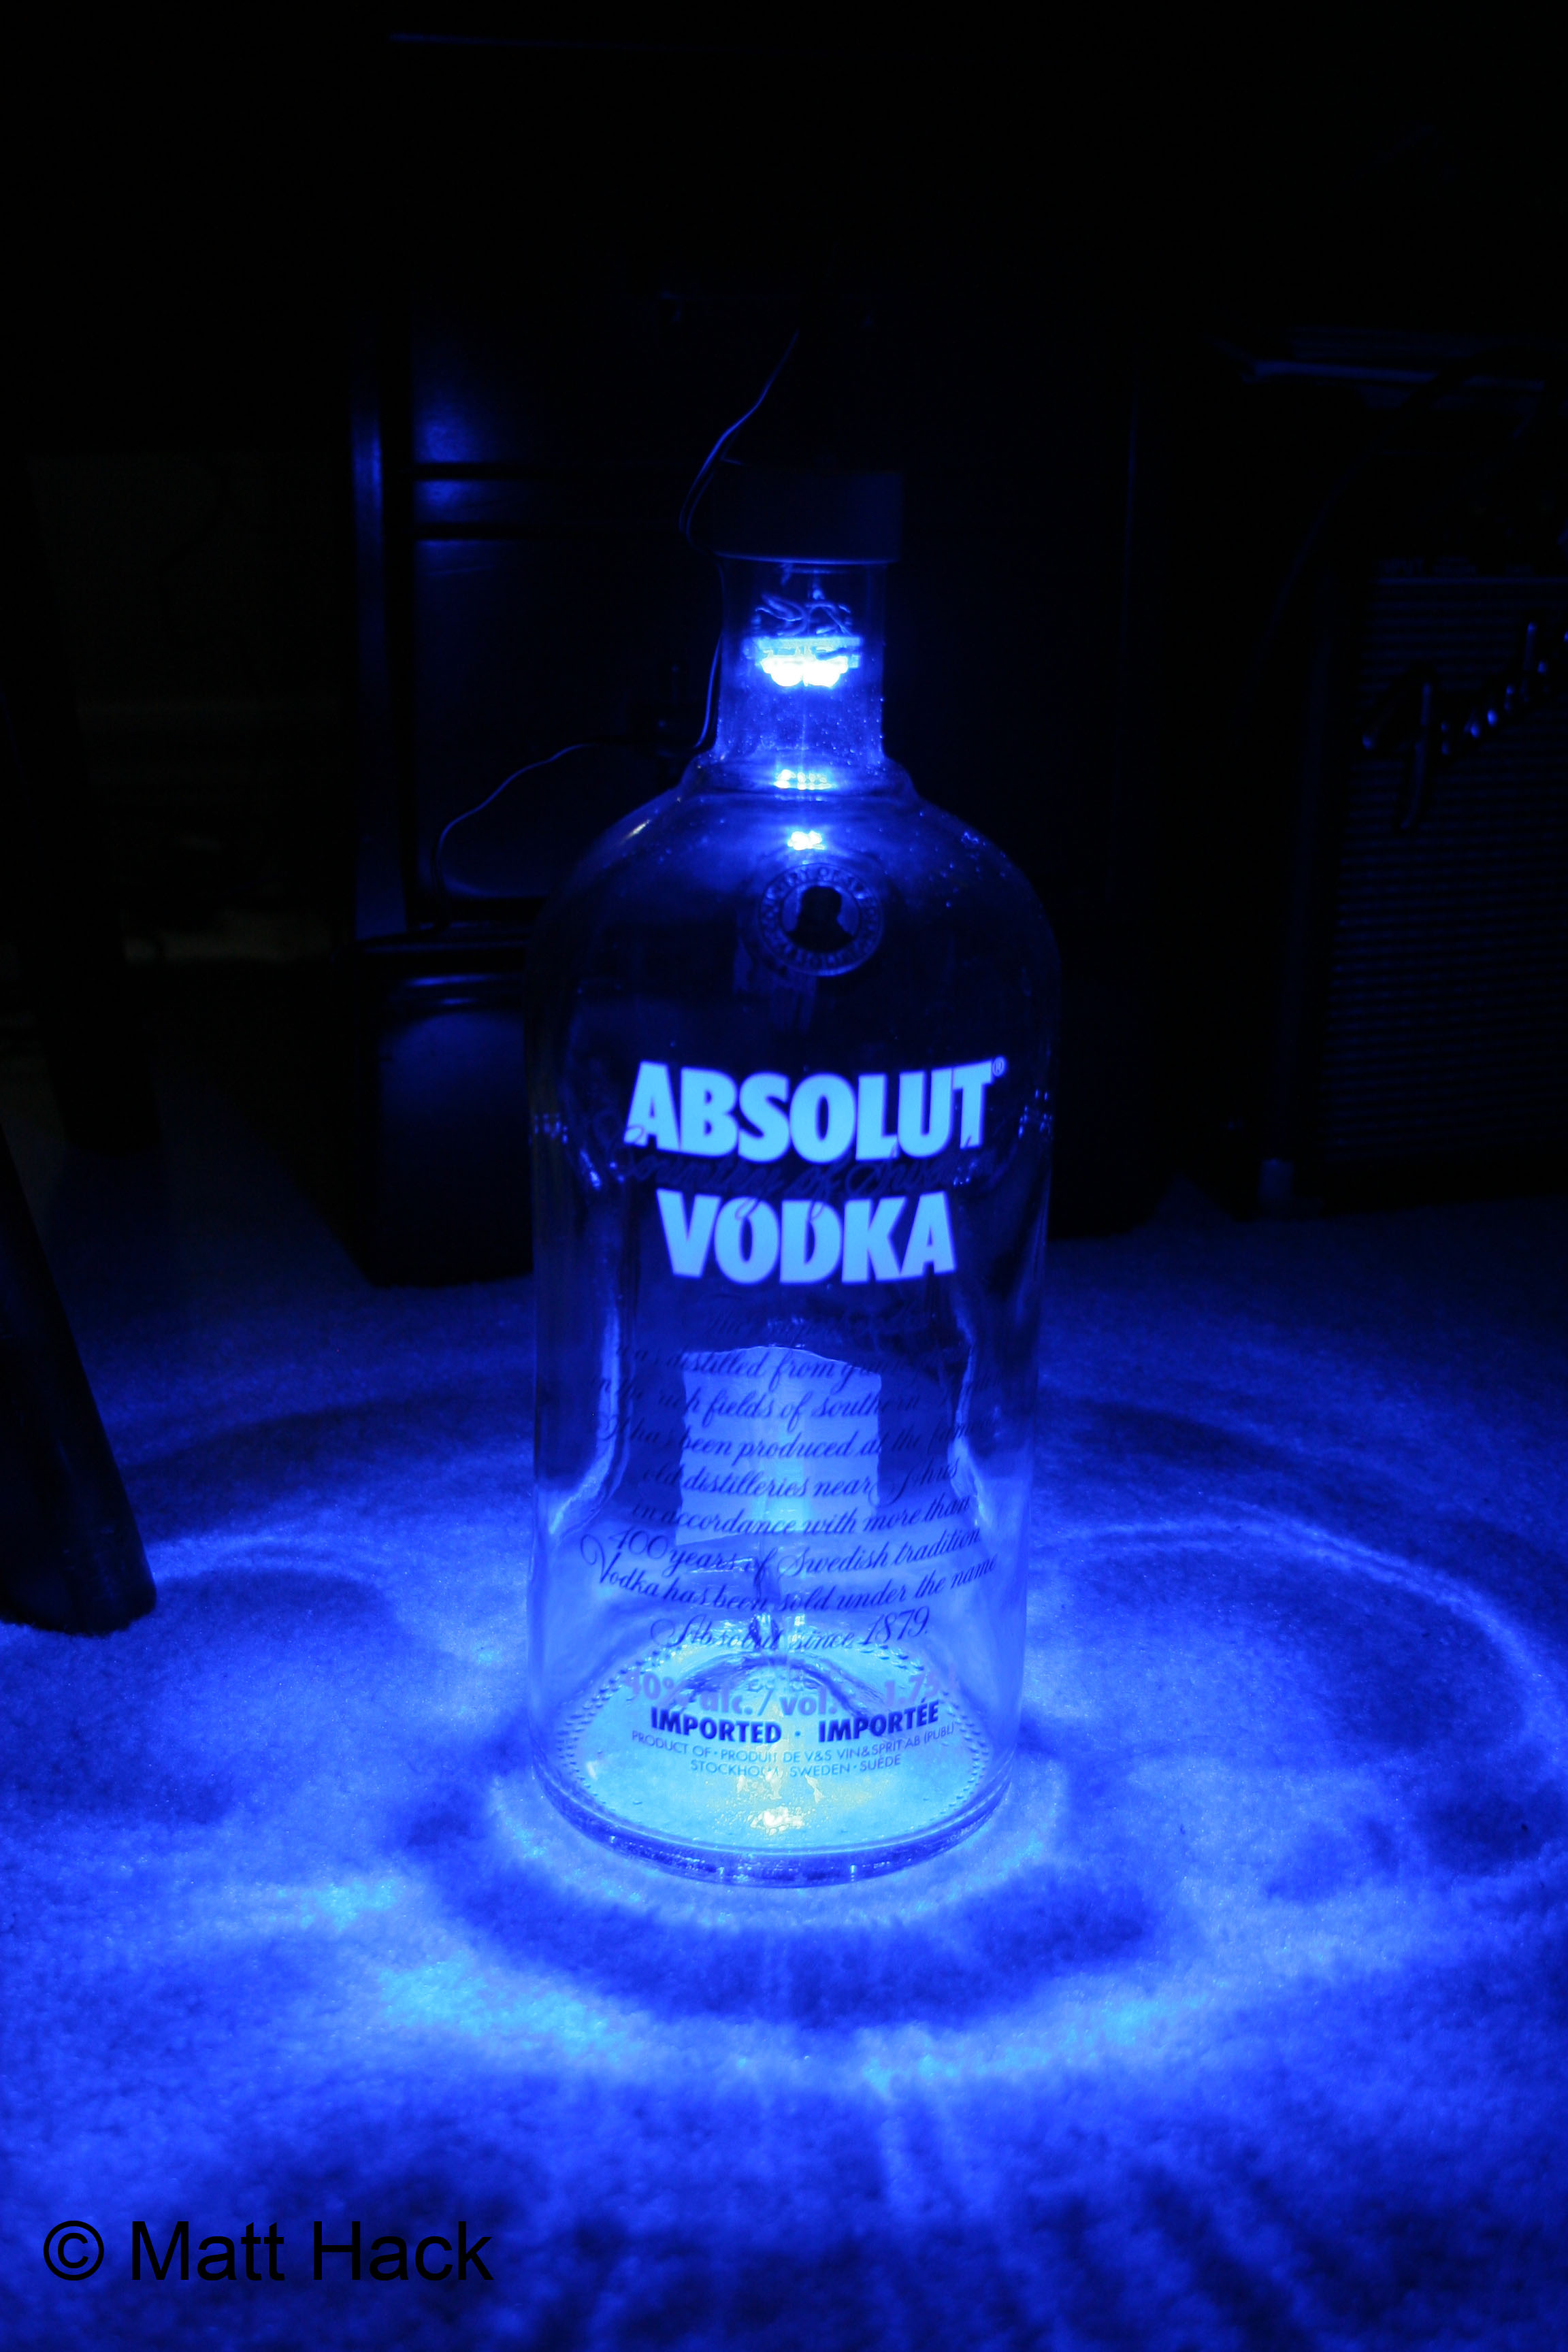
This lamp project took less than an hour to build, plus the time spent shopping for parts, so I would definitely recommend it as an easy after-work/school or weekend project for beginners. You can use any bottle you like, as long as the neck is wide enough for the components. (If the neck is too narrow, use 1 LED soldered straight to the resistor and power supply without using a circuit board; this should fit into almost anything)
Remember:
- LEDs are very low-resistance devices and must have a current-limiting resistor in series with them to prevent them from burning out.
- To calculate the resistor value use the formula; R = (Vs-Vl)/I , where Vs is the supply voltage, Vl is the required LED voltage, and I is the required LED current.
- If LEDs are connected in parallel each one must have its own resistor.
- LED’s are a type of diode (Light Emitting Diode). Diodes only allow current to pass in one direction, therefore LED’s must be connected the right way around to light up. Cathode (long leg) to positive and anode (short leg) to negative.
- Try to make solders as quick as possible, overheating can damage LEDs.
Parts List:
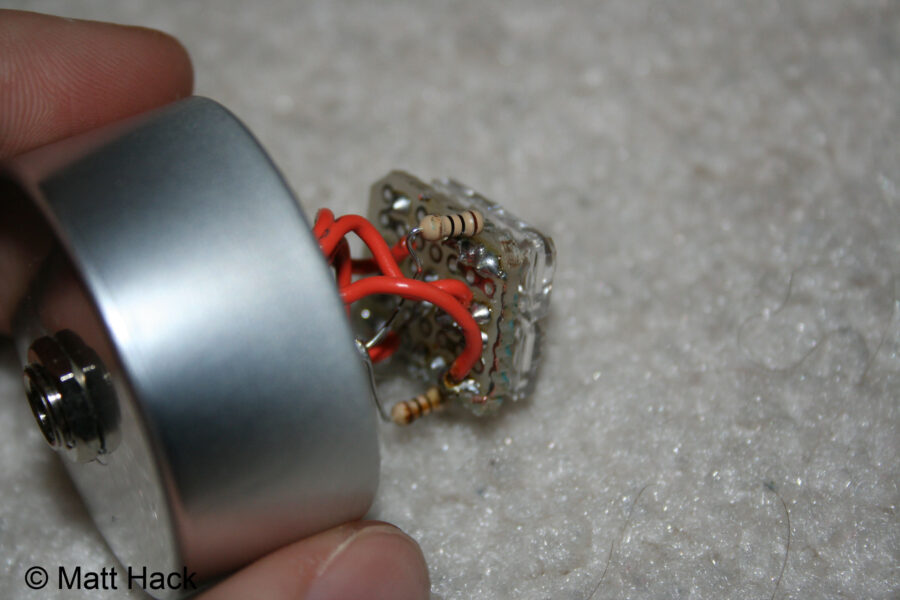
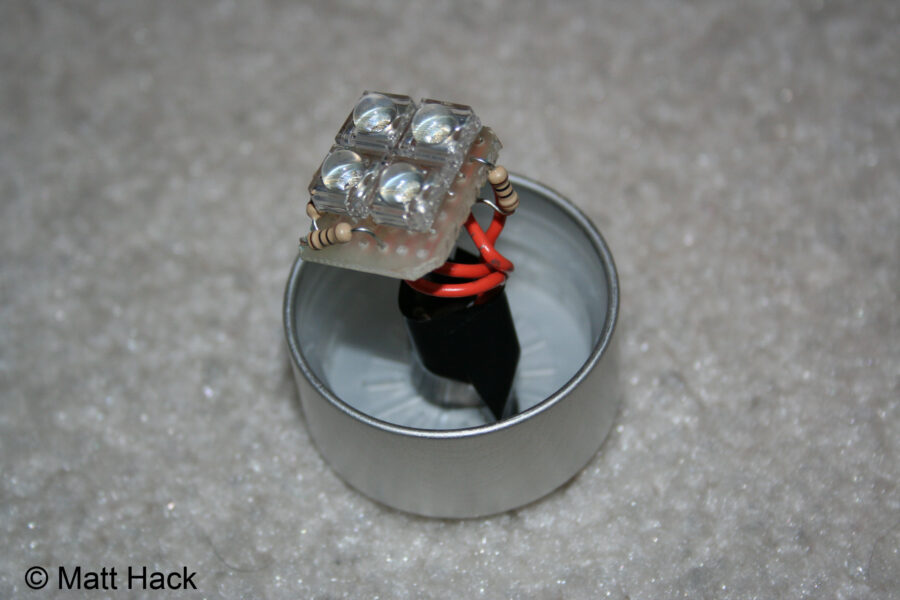
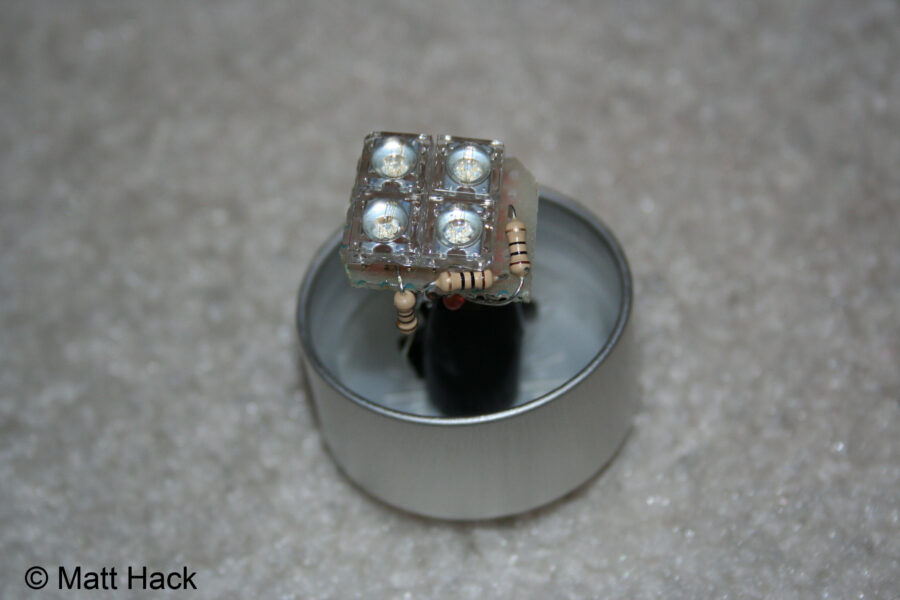
- 4 Superflux LEDs (Superflux LEDs are one of the brightest LEDs you can buy, they feature 5 LED chips in each square package.)
- 1 6 volt power supply.
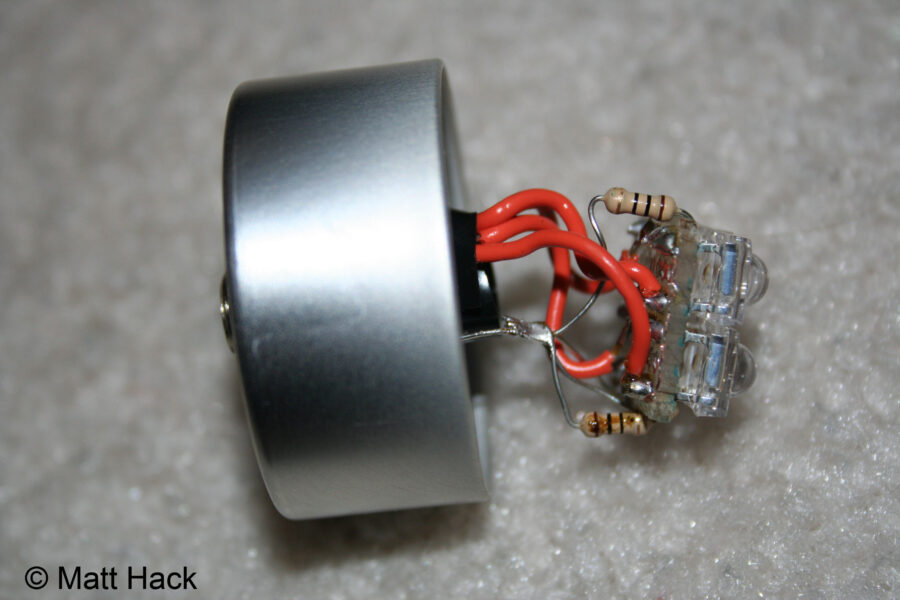
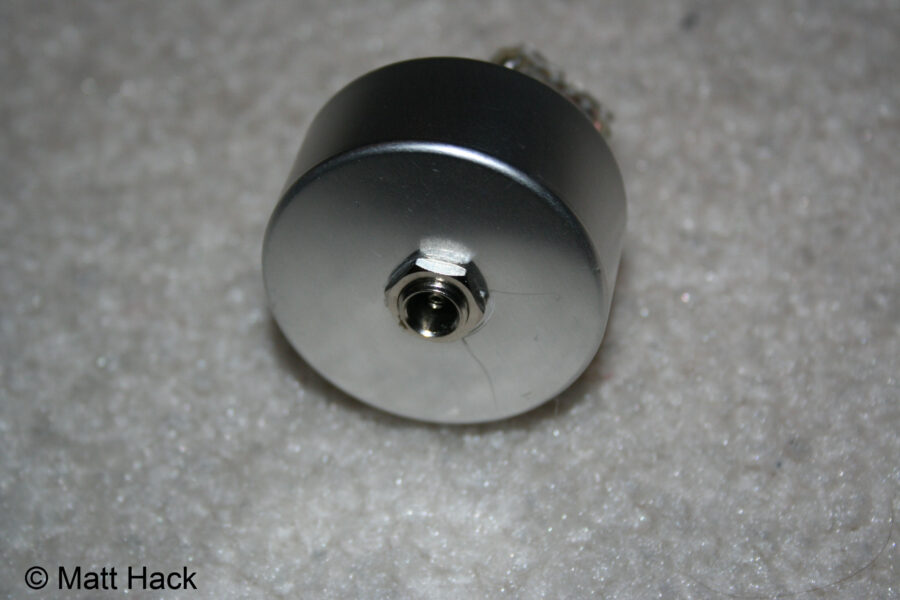
- 1 Matching female connector for power supply. (With threading for easy installation on cap)
- 1 Perf board cut down to size using a hacksaw.
- 4 Resistors correctly matched to LEDs.
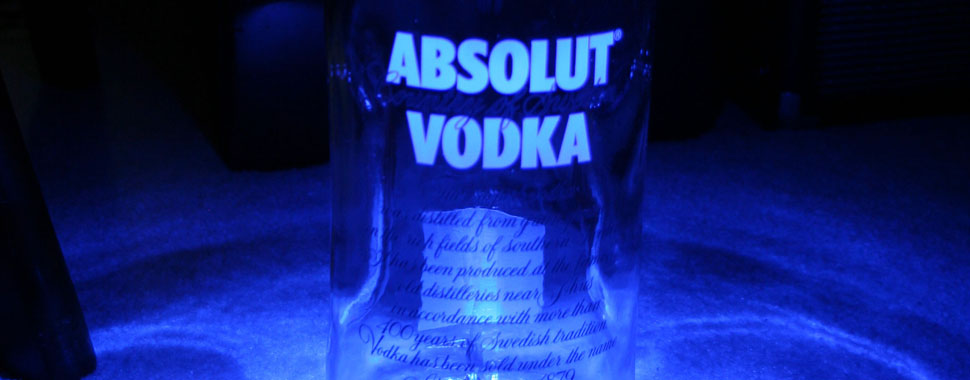
- 1 Bottle.
- Soldering iron.
- Solder.
- Insulated wire.