Over the Christmas break, I decided to put my new CNC to work by cutting out a clear acrylic letter as a gift for my mom. I used CamBam to make the toolpaths and the G-code that was then sent to the CNC. After the acrylic was cut out, the edges become translucent or “frosted”. The edge was quite consistent, so some might choose to leave the finish as it is. I wanted a transparent look, so I had to finish the edge with a map gas blow torch that burns at approximately 3,600 degrees Fahrenheit (Propane = 3,450 degrees Fahrenheit). A quick “brushing” motion with the flame will melt a very thin layer of acrylic on the edge and turn the acrylic clear again. This technique is known as flame polishing. You can see pictures and video of the entire process below.
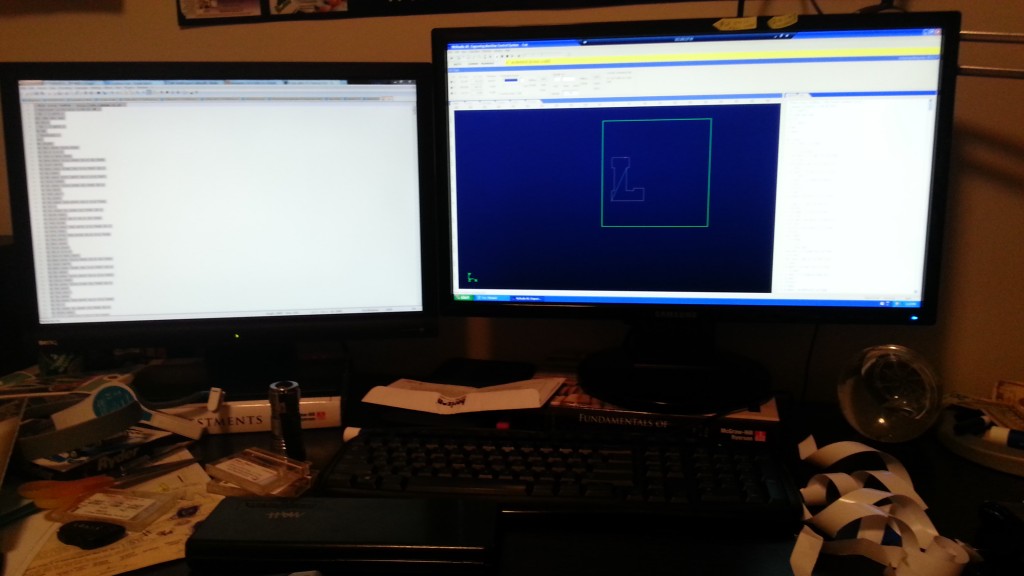
The raw G-code is on the left monitor, and the job simulation is on the right monitor.
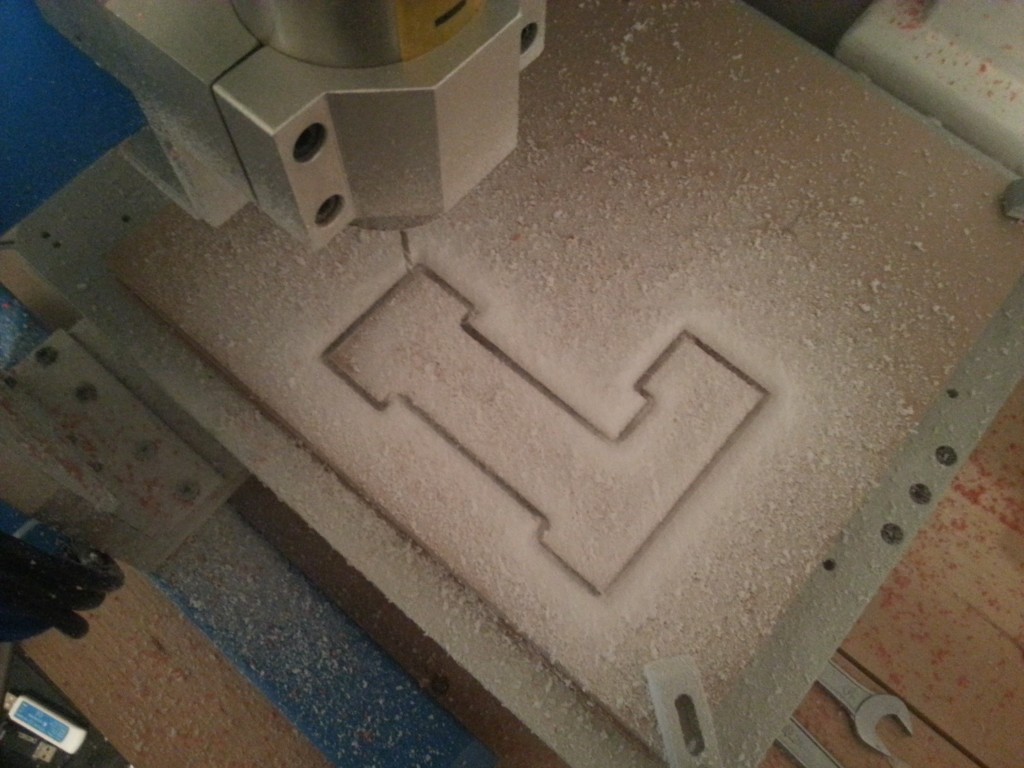
You can see the letter ‘L’ being cut out above. Notice the large amount of acrylic dust… Don’t breathe this!
Here is a video of the cutting process. The acrylic is 3/4 inch thick, and the CNC machine is machining away at 0.4mm per pass. The entire cutting process took around 15 minutes.
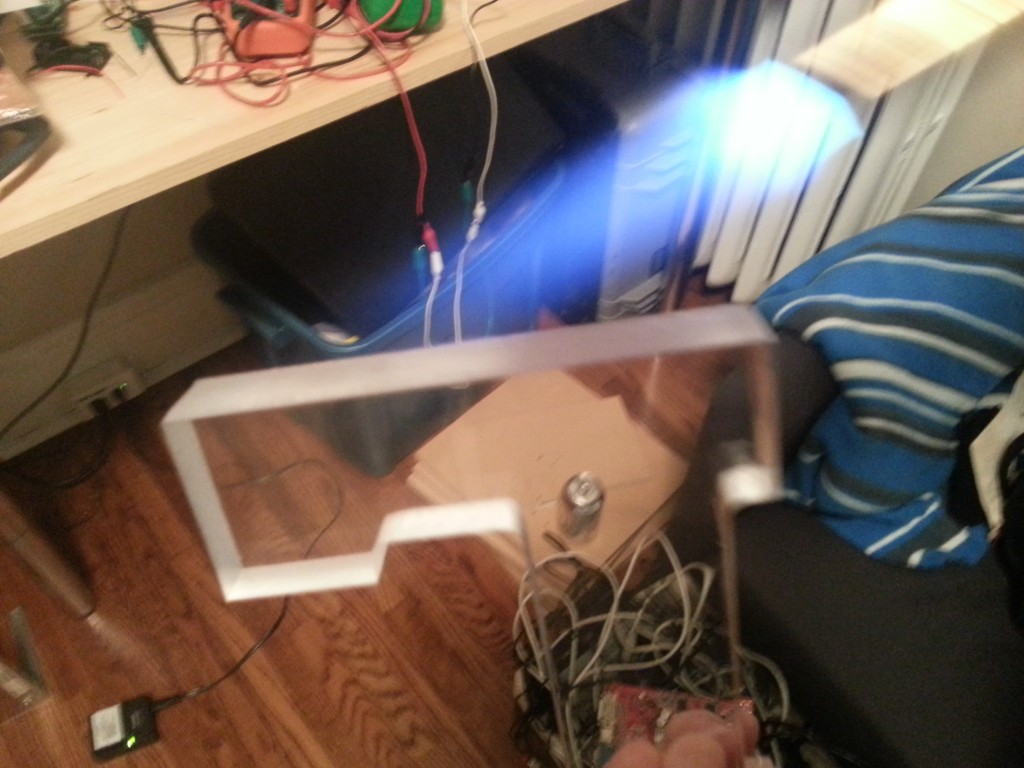
Flame polishing is fun 🙂
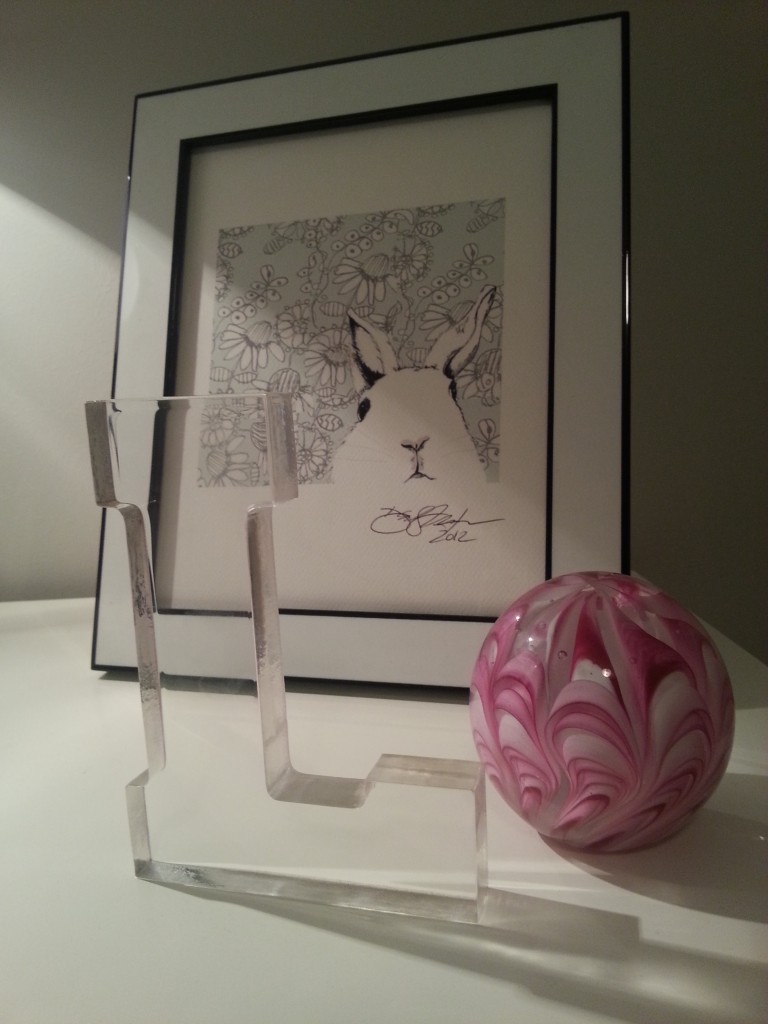
The finished product!


