I purchased a Chinese made CNC (UNICUT 3020) to finally replace my old ferric chloride PCB etching setup. As most people know, it is fairly difficult to mechanically etch your own PCBs for many reasons. So as I have been tweaking and optimizing the system, I have been trying to brainstorm other projects to keep the CNC busy. You might have seen the CNC acrylic letters I posted before HERE. Another hobby of mine is photography so I decided I would attempt to CNC my own custom lens caps. You can see the full process step by step below. If you want to see the results, scroll all the way to the bottom.
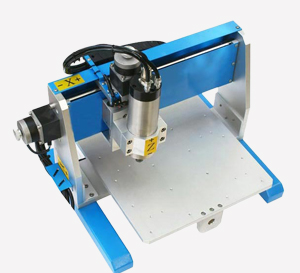
Unicut 3020 CNC
Step 1
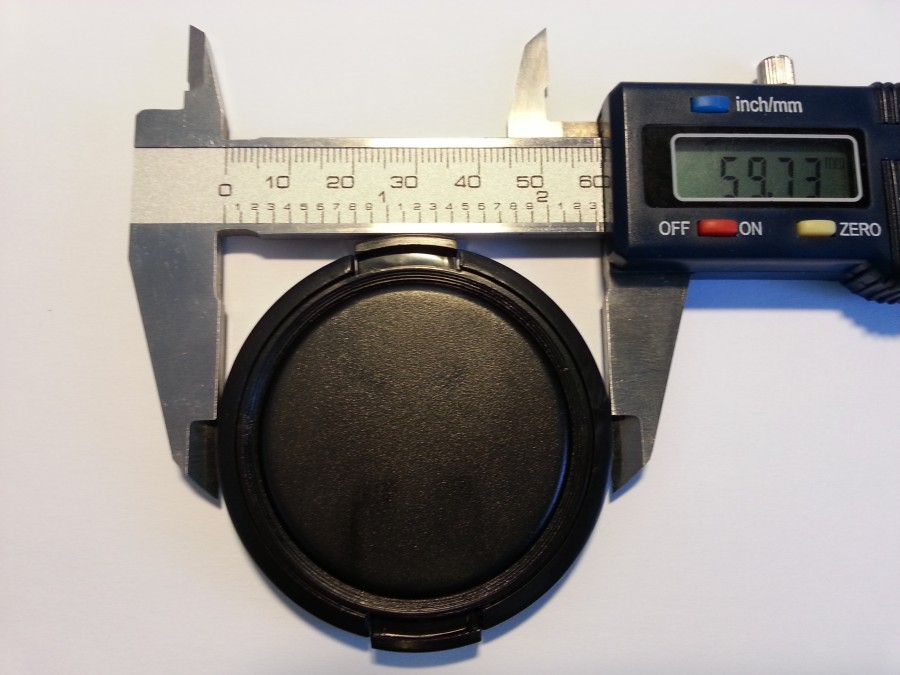
The first thing I did was to grab my digital calipers and measure the dimensions of the flat, blank lens caps I ordered off of Ebay.
Step 2
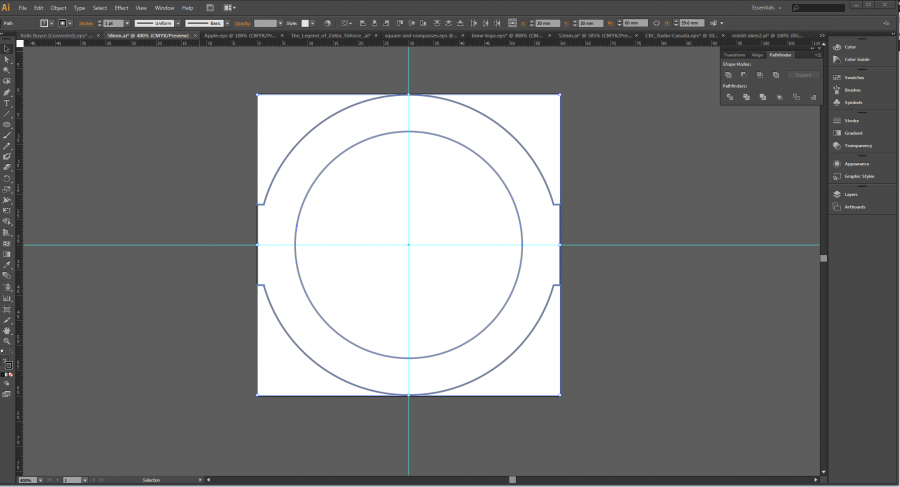
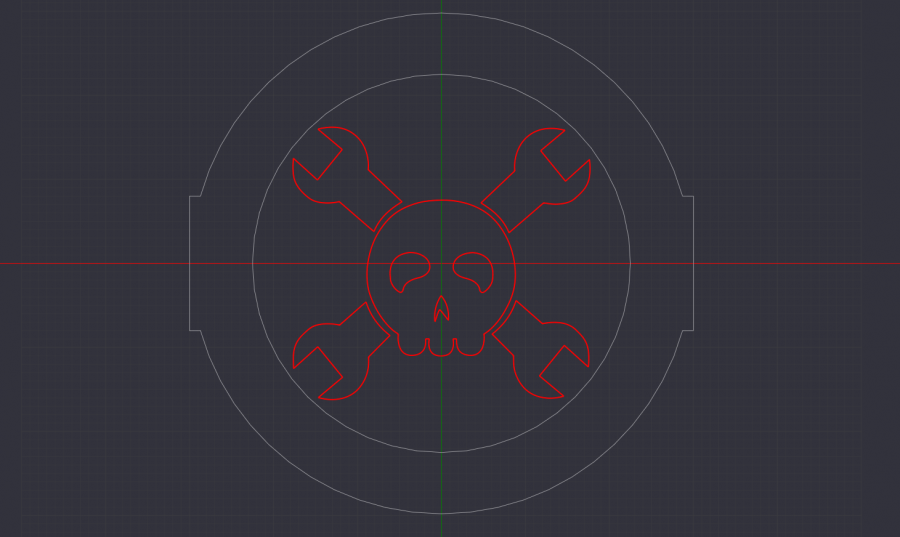
I took the dimensions from Step 1 and created an outline of the lens cap shape in Adobe Illustrator.
Step 3
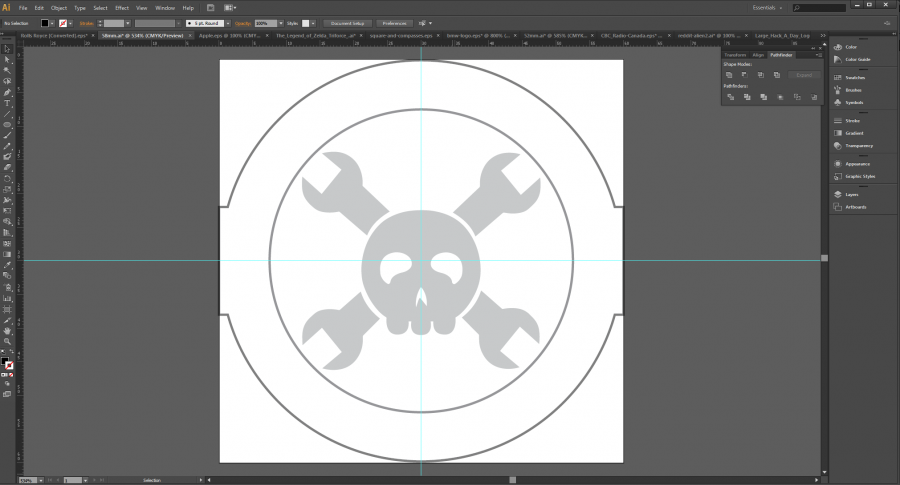
I downloaded the Hack A Day logo and placed the logo in the center of the lens cap outline in Illustrator. (You can use any vector file, or make your own!)
Step 4
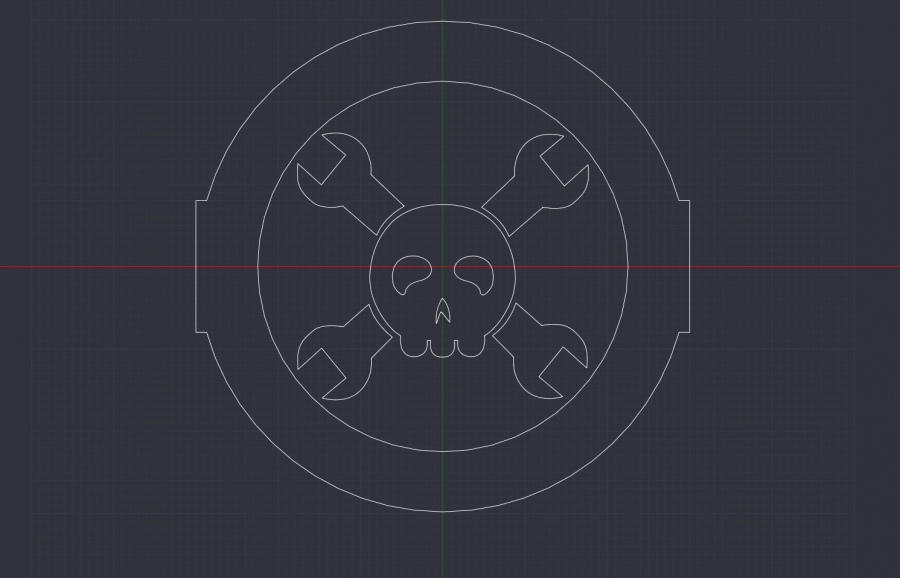
Here is where it gets a bit tricky. You have to select the items you want to cut and export them to a .dxf file type to be able to import the image into CAM software.
The settings I used can be seen below.

Step 5
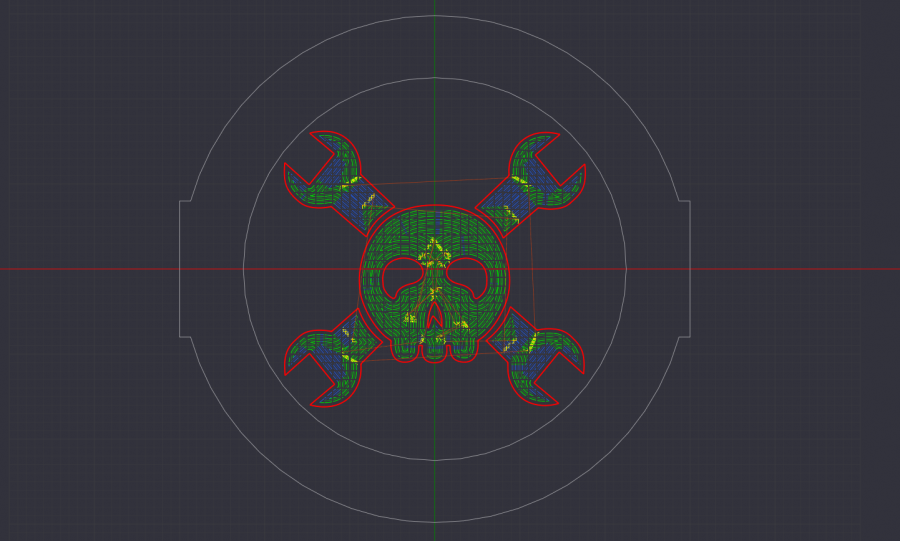
Import the file into CAM software. In this particular example, I used CamBam. I love this software, and you can get a free trial!
Step 6
Center the image and select paths to be cut out. (Pocketed)
Step 7
Input CNC settings/parameters.

Step 8
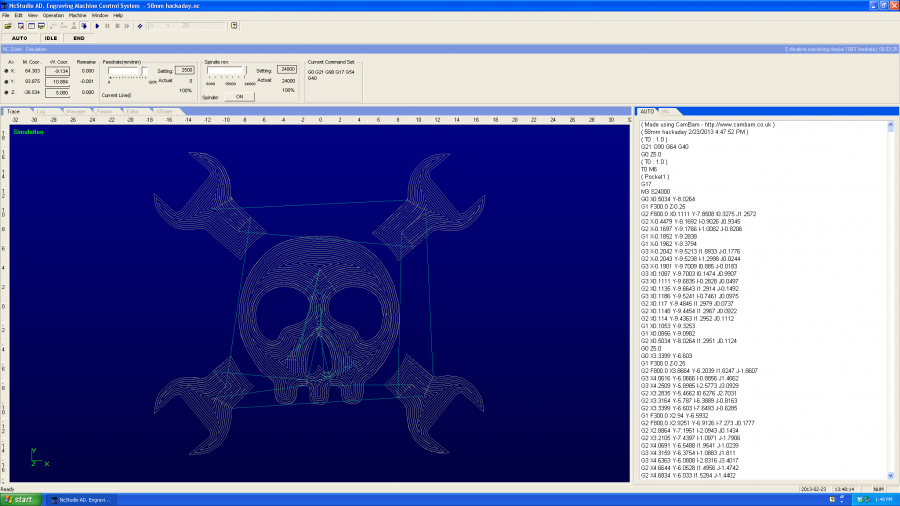
Generate toolpaths/G-Code.
Step 9
Open G-Code in CNC control software (NcStudio in my case) and run the program.
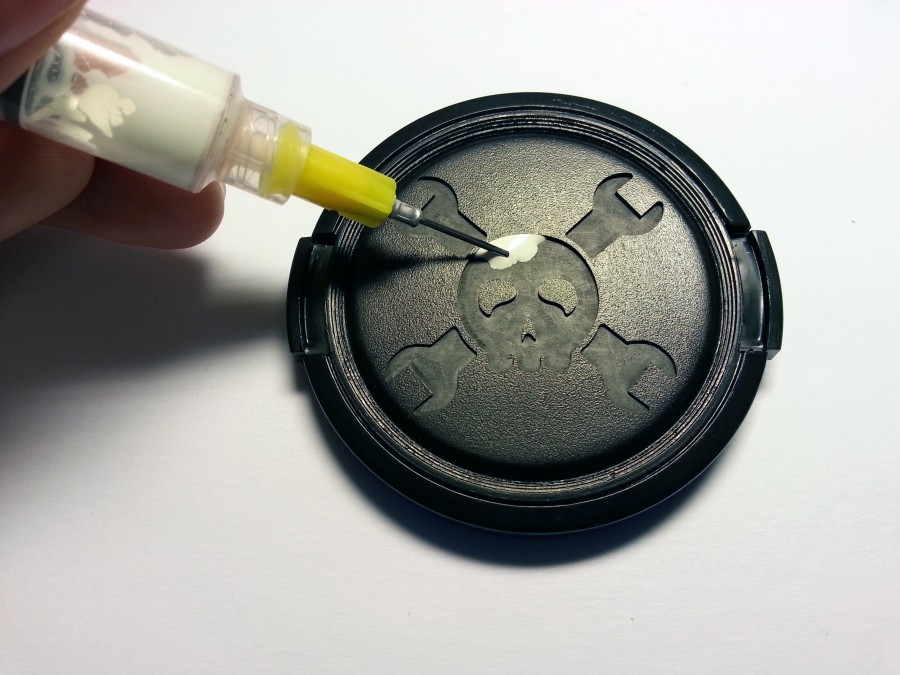
Step 10
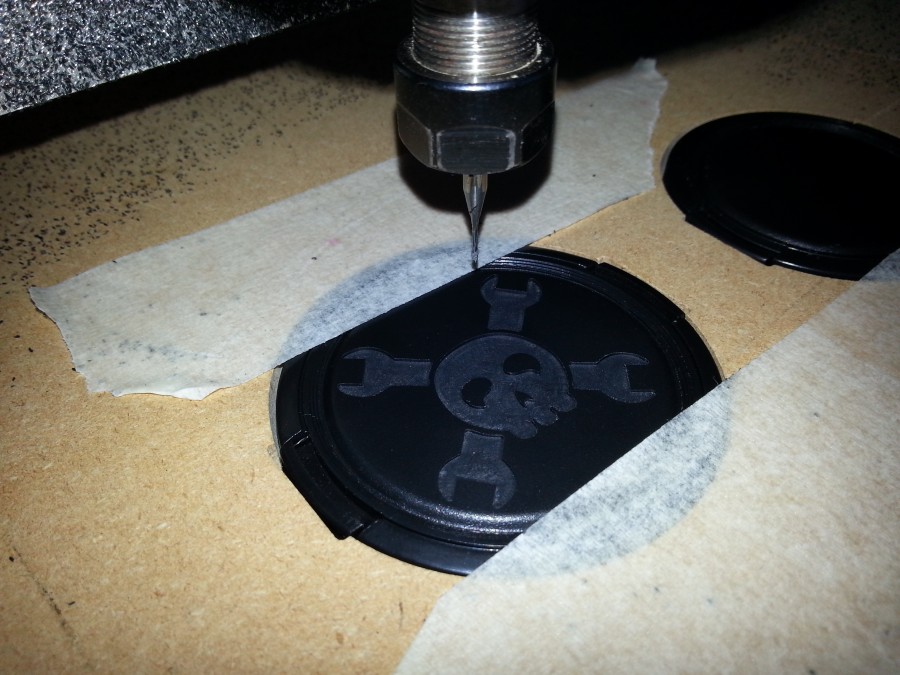
Remove lens cap for jig, clean, and paint with model paint using a syringe!
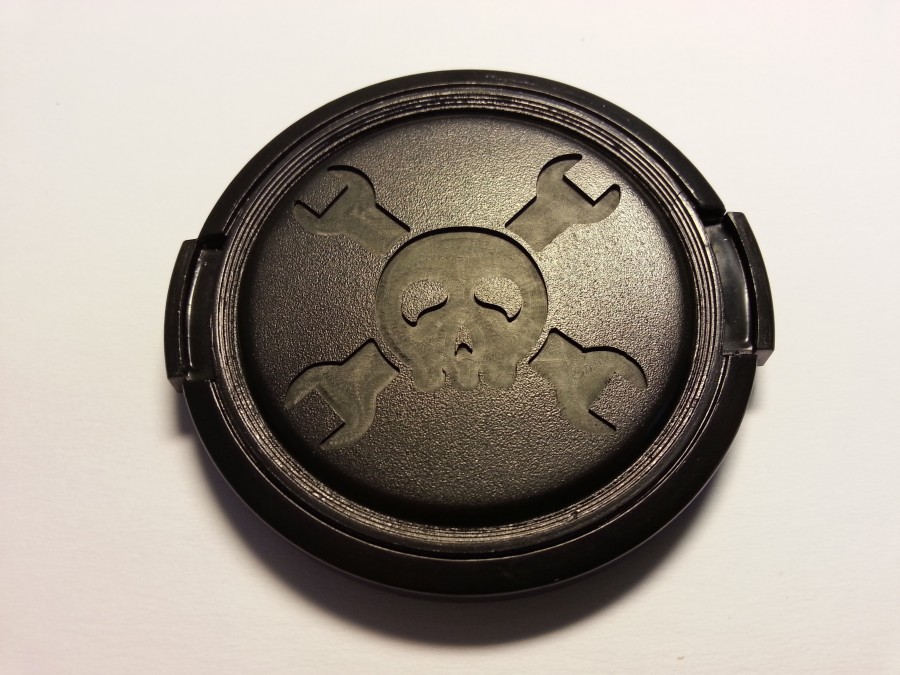
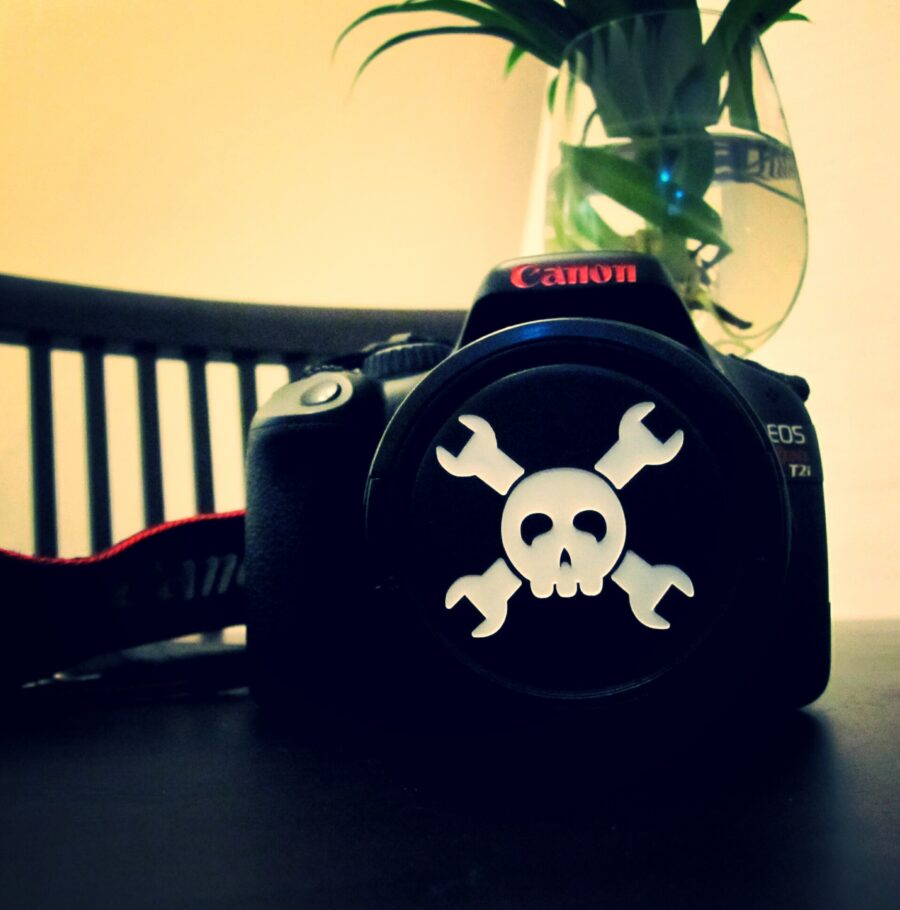
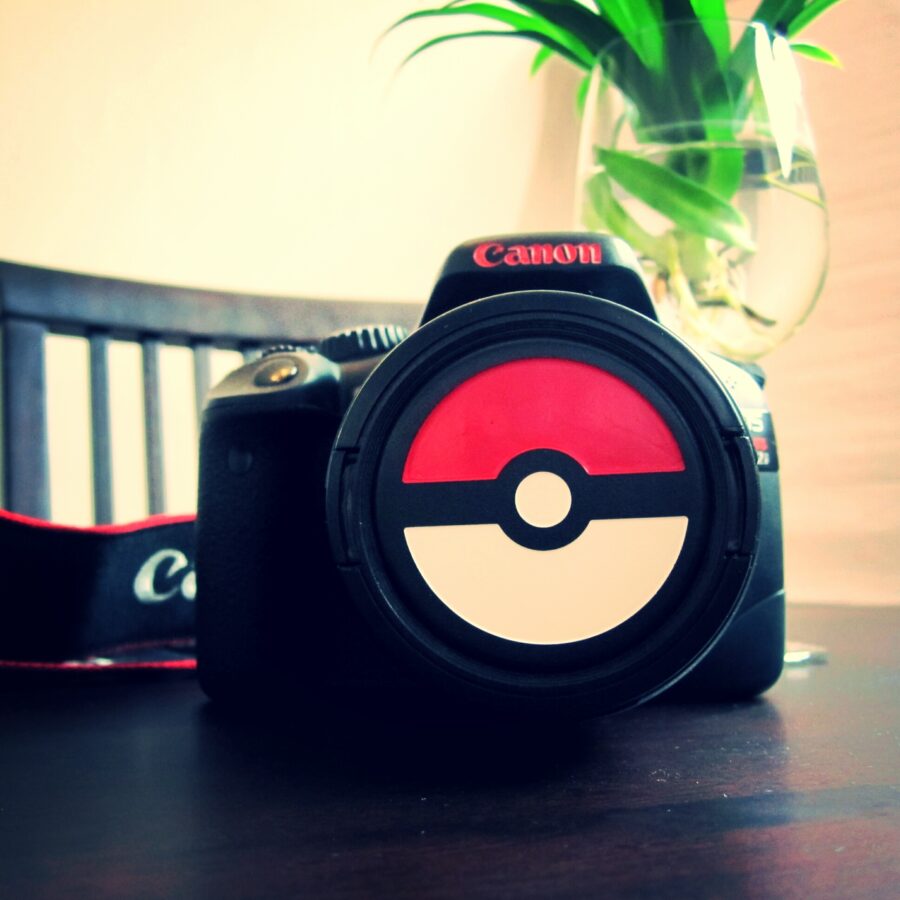
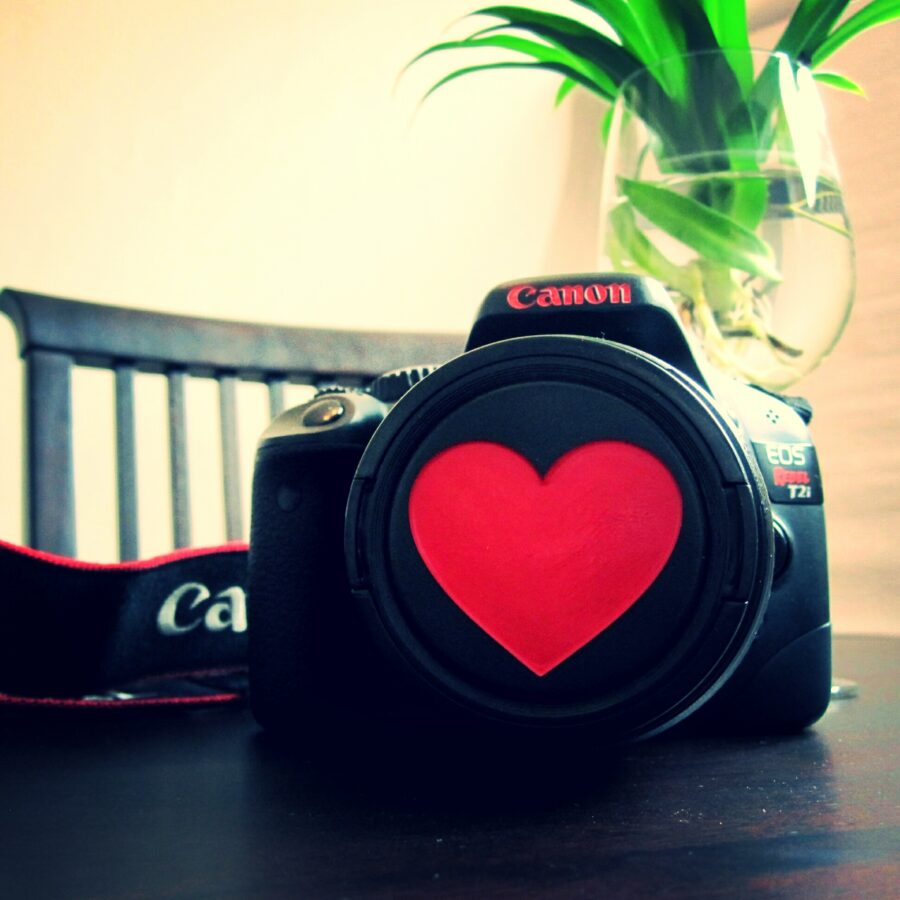
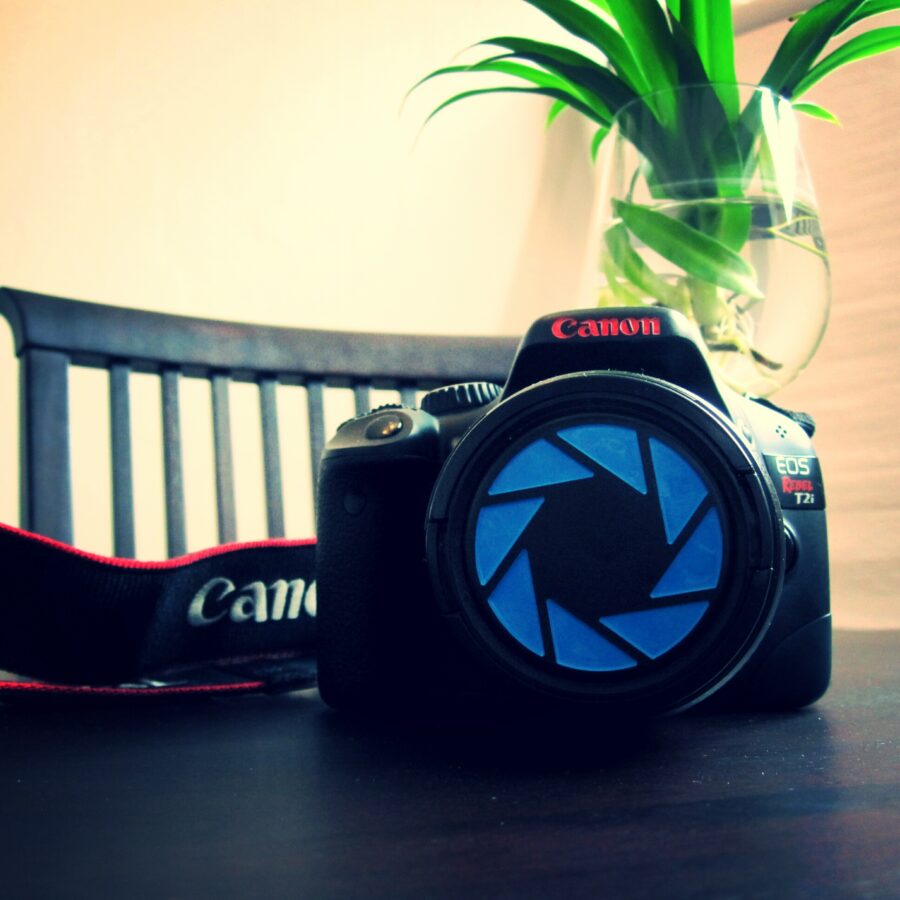
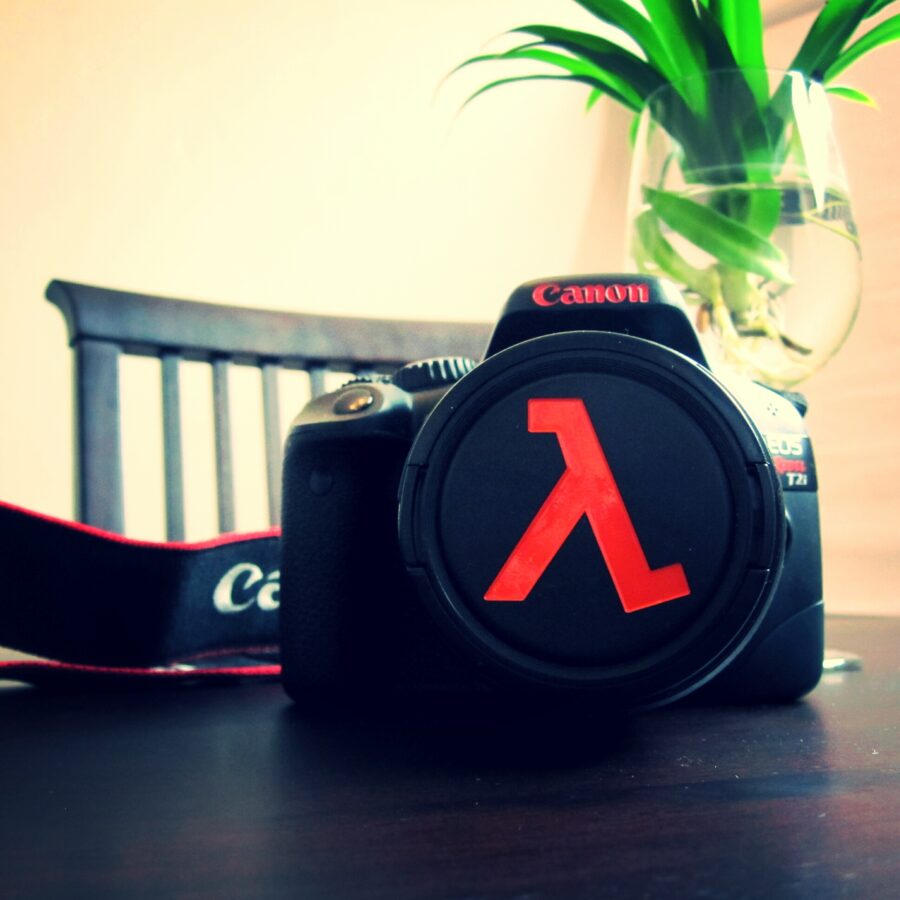
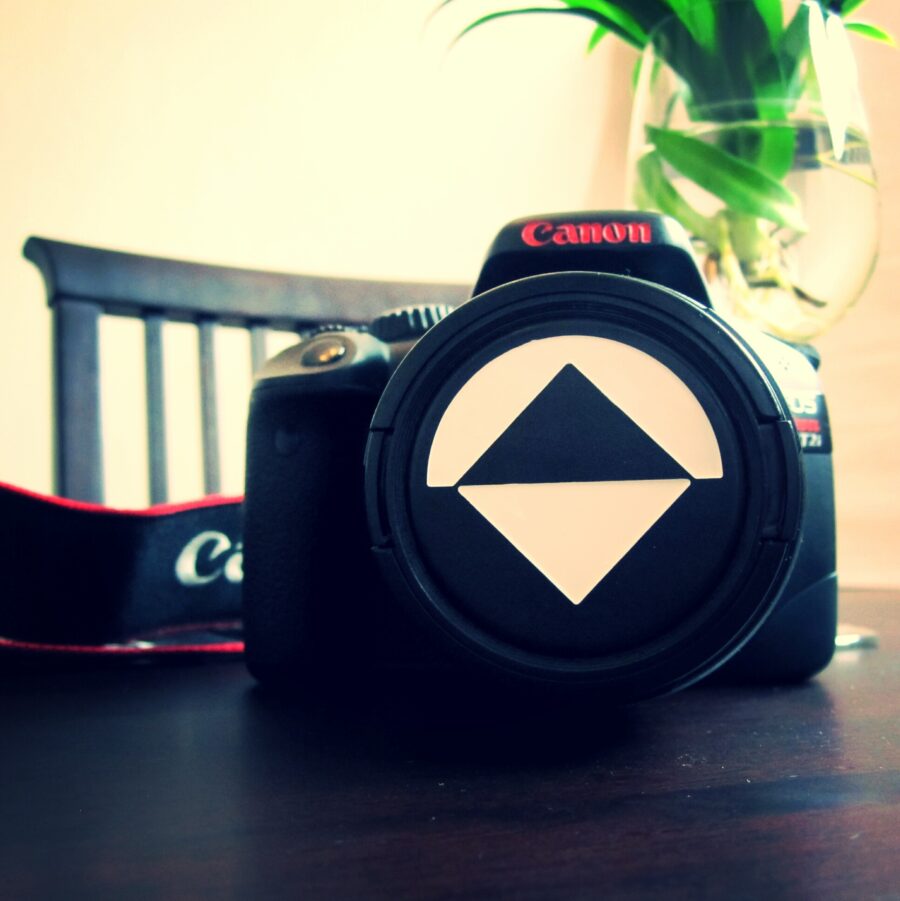
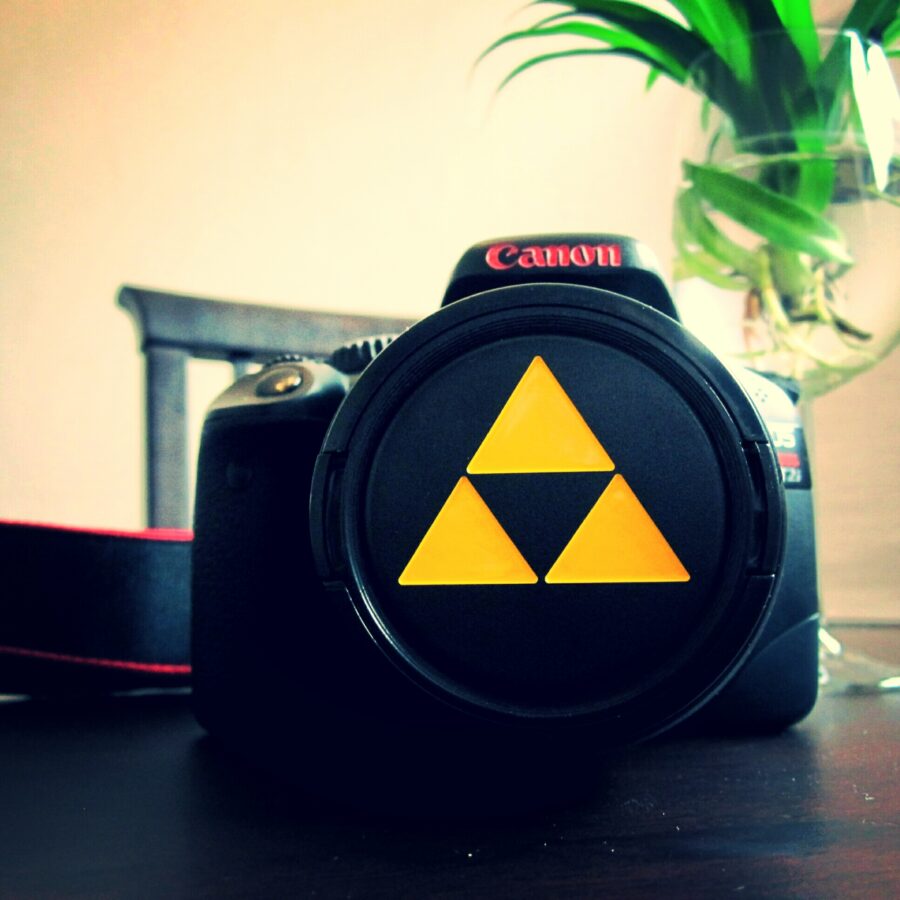
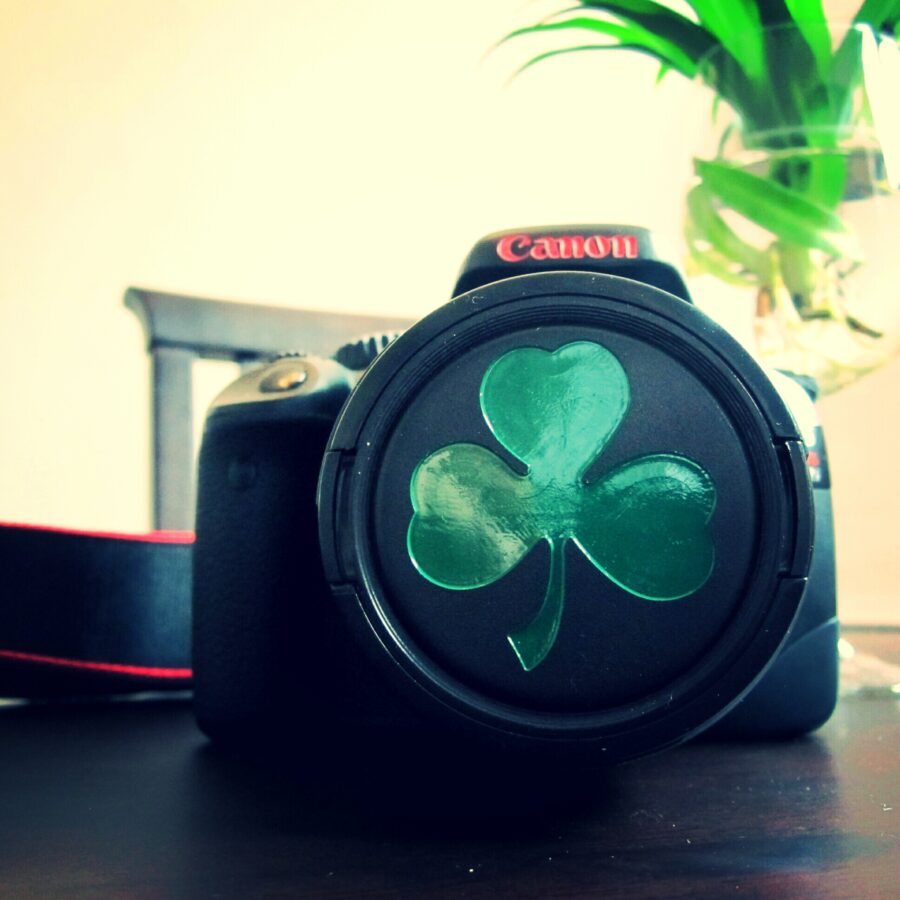
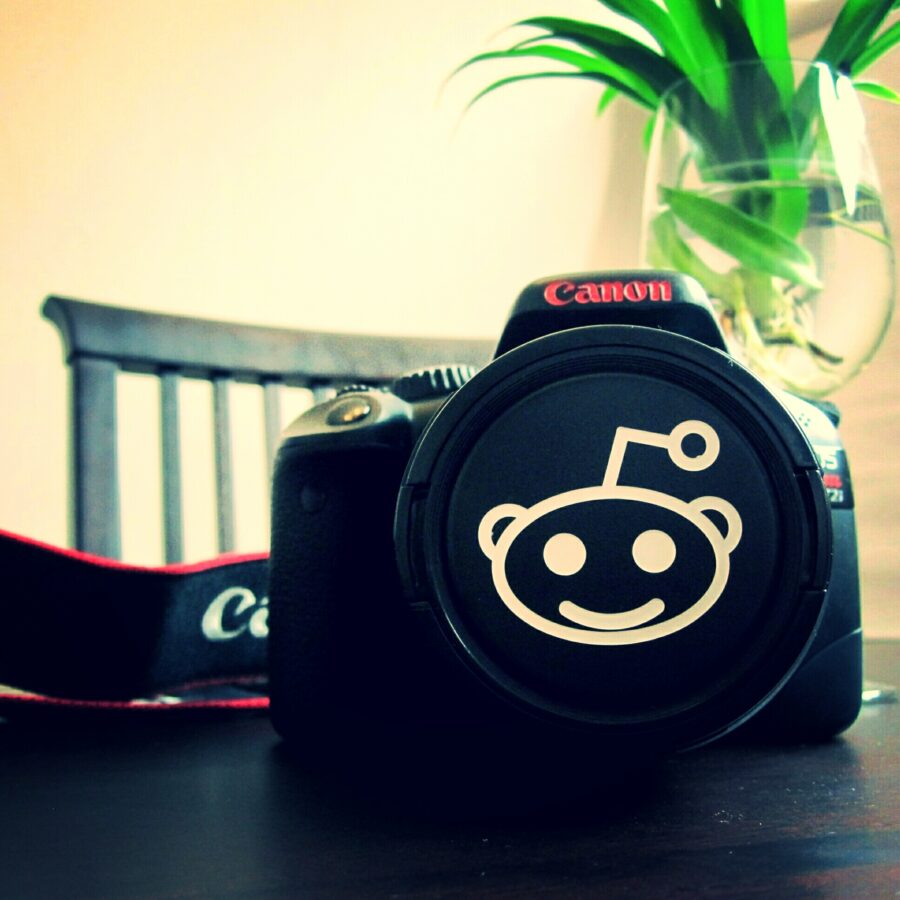
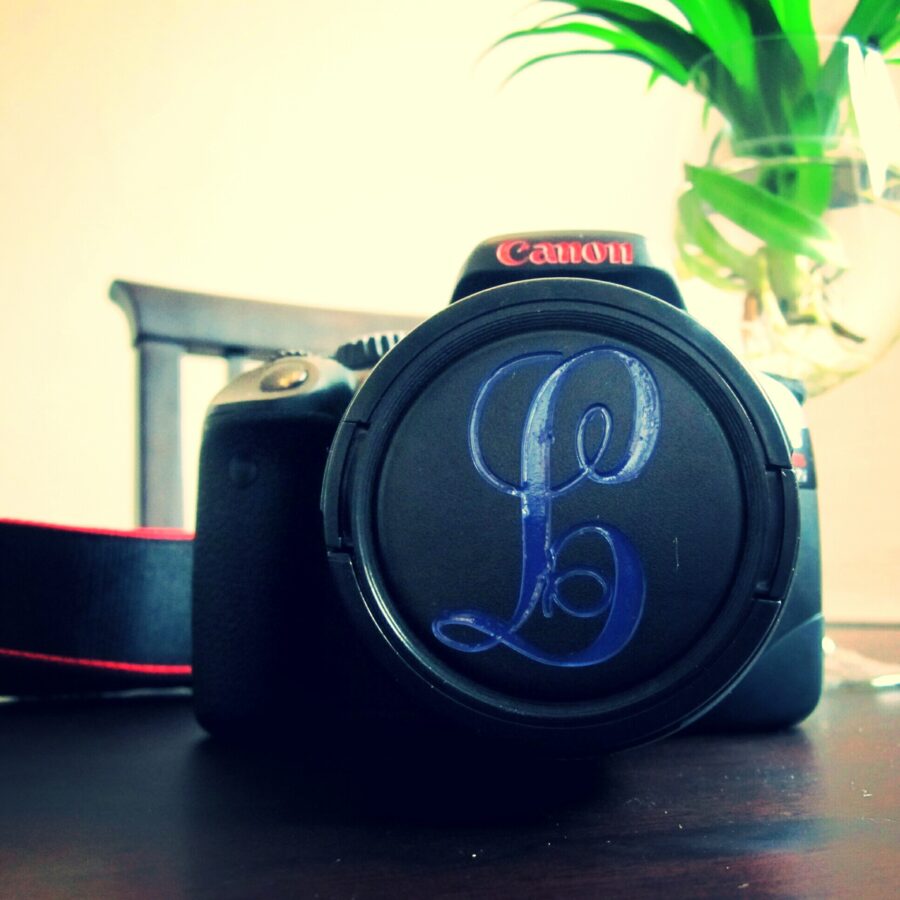
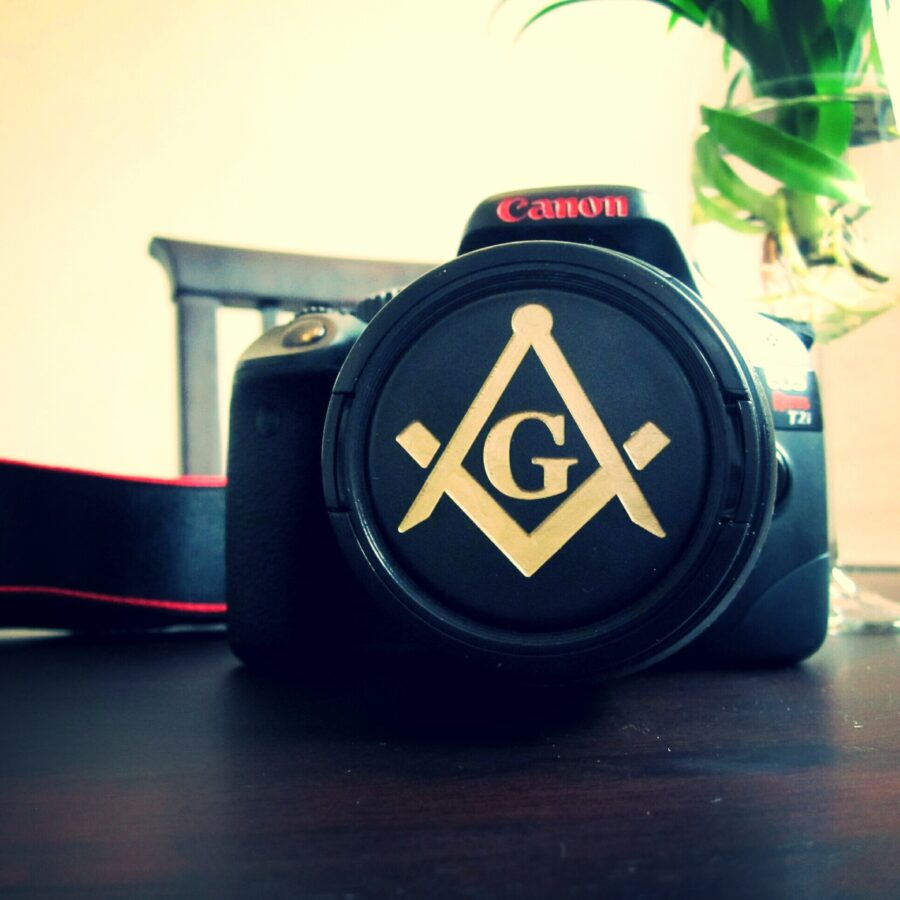
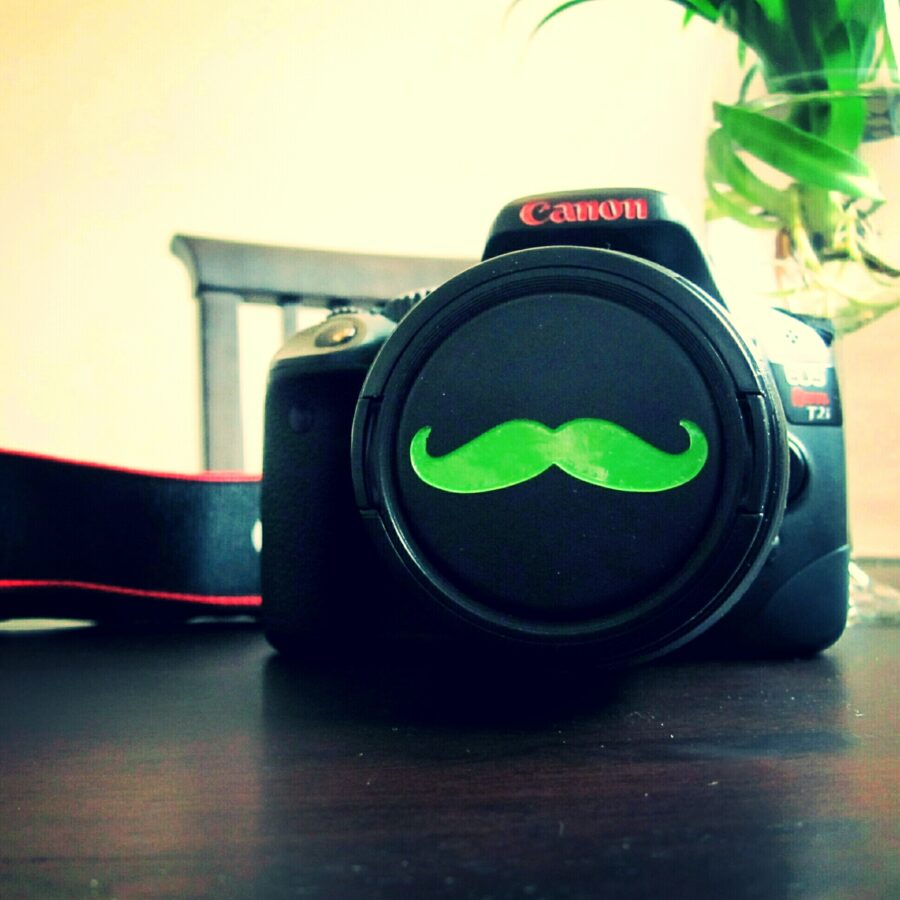
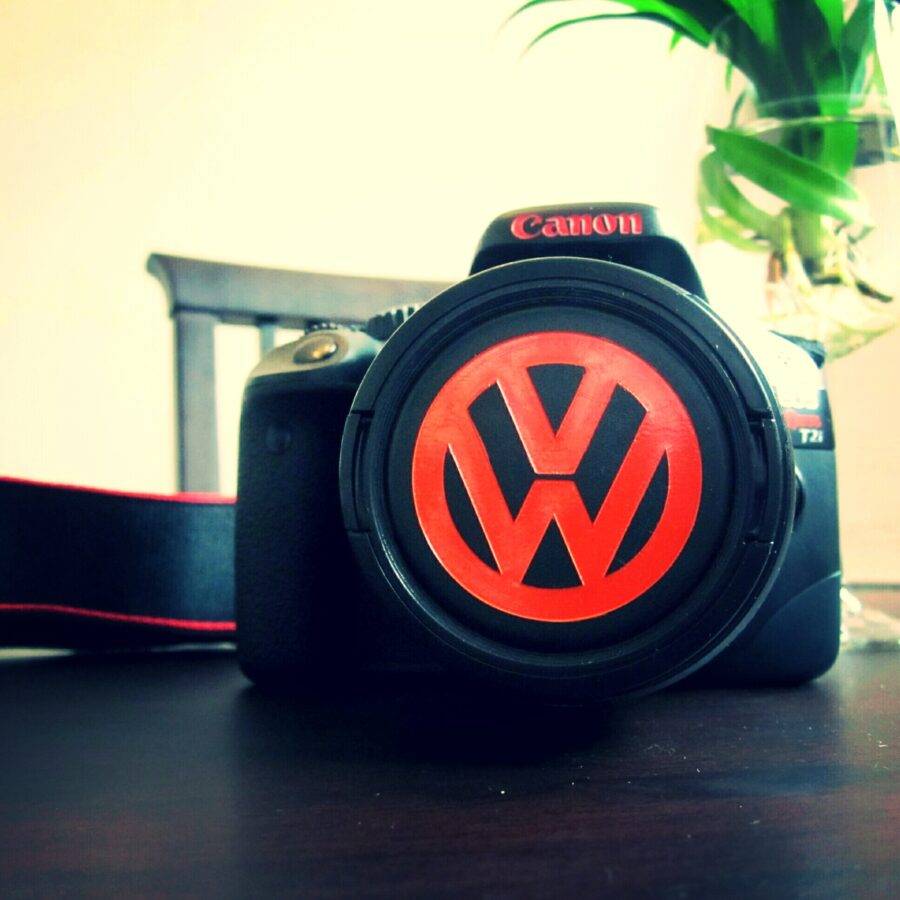
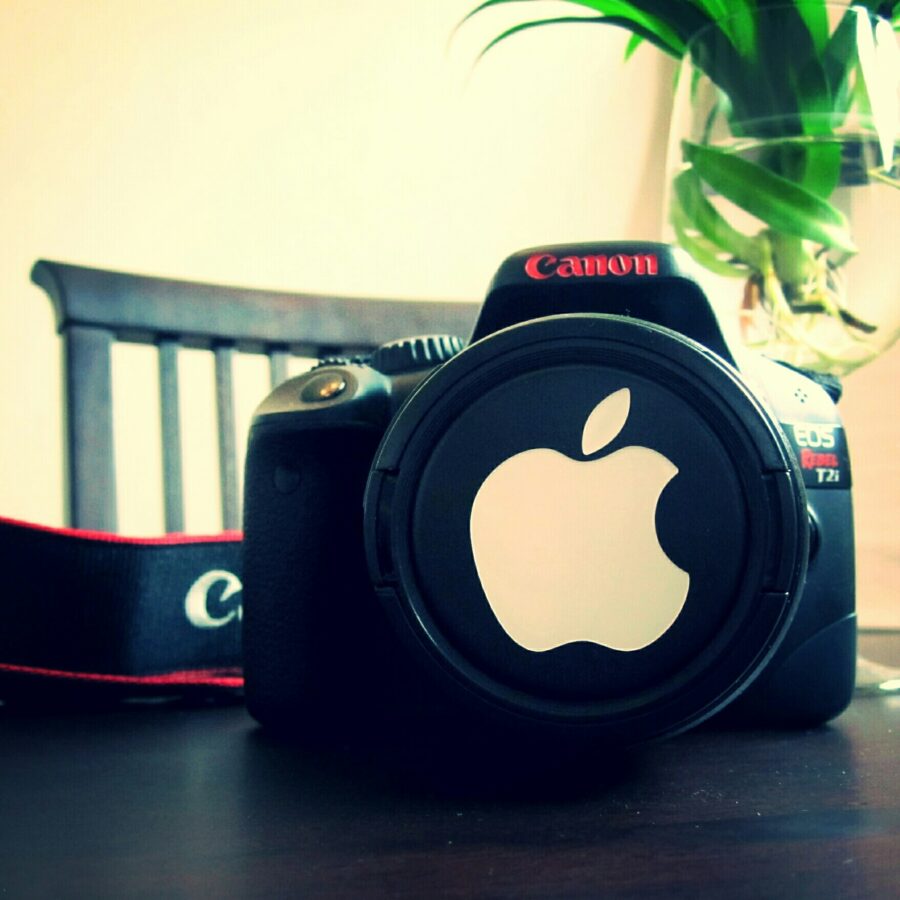
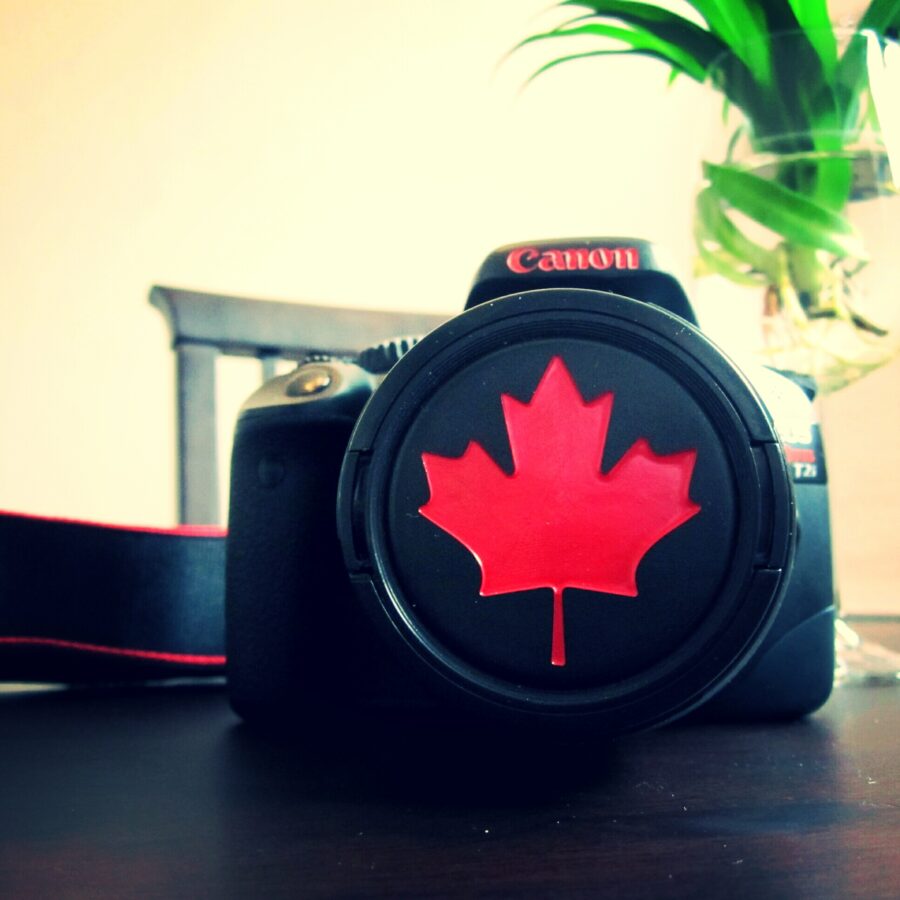
The Finished Product!

Other Designs