Background
I built this MAME arcade cabinet in grade 10 tech class (wood shop) as a special project instead of the normal stuff, aka wall clock and box. It’s a funny story. I asked my teacher if I could build it, and he said sure, so I went online and did some research, and I ended up buying some life-sized blueprints of a basic cabinet that I liked. A month went by and my teacher was like “oh that doesn’t look like a desk…” and I’m just like “wowwwwwwwwwww your not serious, it’s an arcade”. Anyway, it took a while for him to figure out what I was talking about, but he eventually did, and he was cool with it, so the building continued. I built the whole thing by myself in the class, getting occasional help to help hold the larger pieces while I was cutting and screwing them together.
When I finally finished the build, everyone skipped class to play it. My tech teacher got so pissed that he wheeled it out into a closet across the hall in the middle of the night and told me that he was going to dump it in the trash if I didn’t bring it home soon.
A few days later, the vice principal just “happened” to be walking down the hall and was like, “Hmmm, maybe I should open this random closet…” he did, and he found two guys sitting in there playing the Simpsons arcade game. I got in shit, and I was forced to take it home the next day, which was a challenge because it weighed around 300 pounds with all of the electronics inside.
What It’s All About

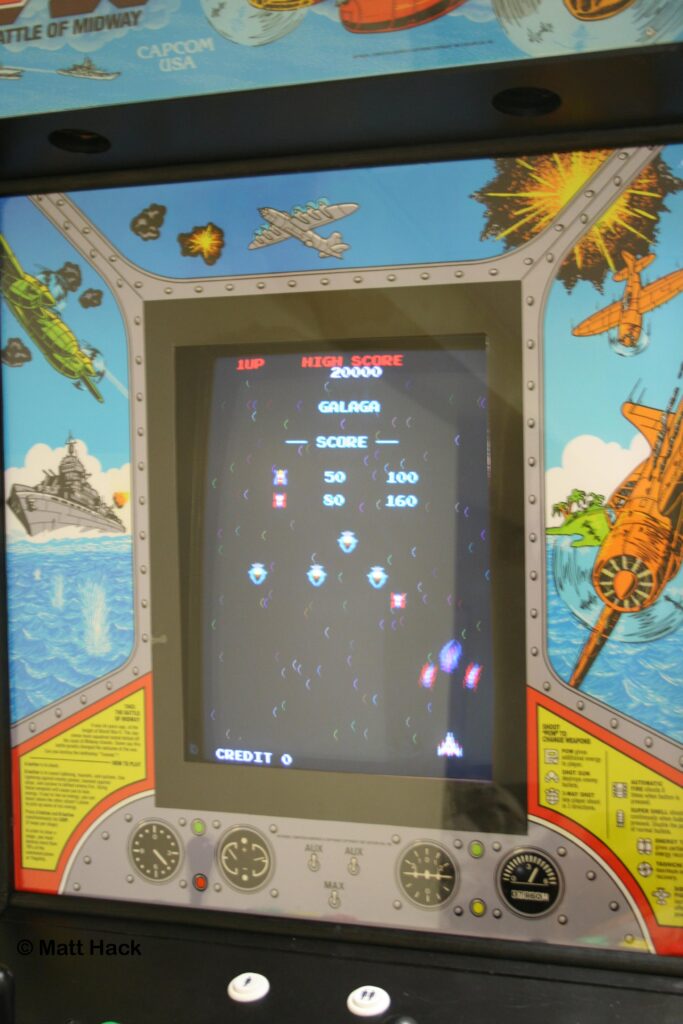
A MAME cabinet is a replica arcade cabinet (think, Pac-Man, Galaga Etc.) or an actual arcade cabinet that runs the MAME software on a computer inside the cabinet instead of the original game hardware. MAME stands for multiple arcade machine emulator, and it is a software that can emulate old arcade game hardware using a computer. MAME cannot play games by itself, though; it needs “ROMs.” Roms are basically just backups of the original game’s software/hardware that can be read by MAME. The catch is that possessing roms is illegal unless you own the original machine, have a license to use the roms or the roms have been released to the public as free. So be extra careful with that. MAME by itself is just command line based, so for this project I used MAMEUI. MAMEUI is pretty self-explanatory; it’s just MAME with a decent barebones UI. It can be downloaded here. If you want to learn more about MAME I suggest checking out the official MAME website as well as mameworld.net.
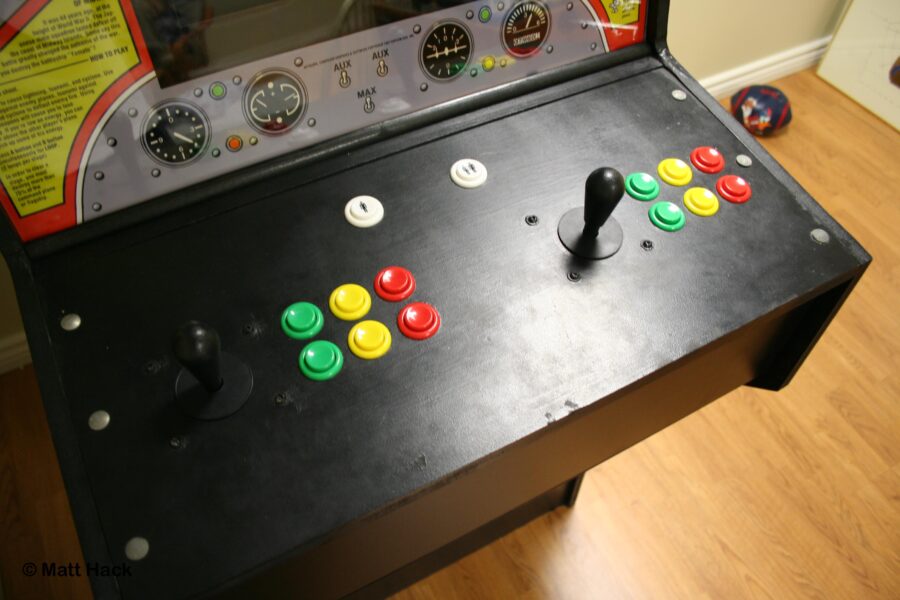
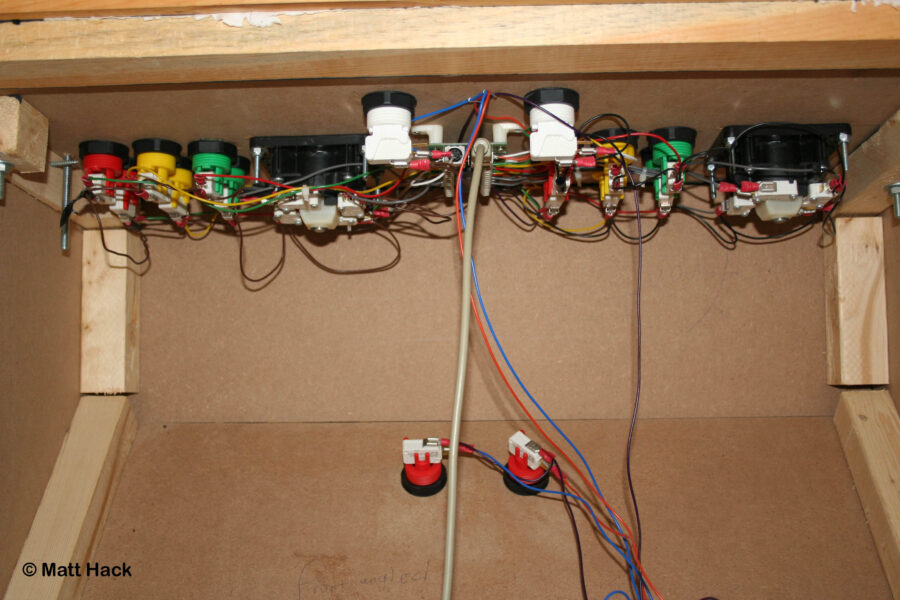
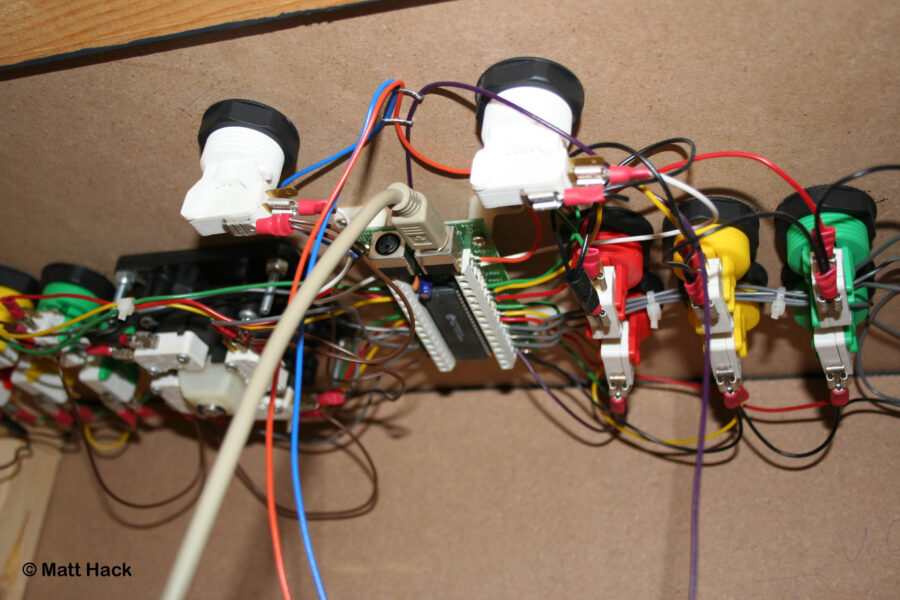
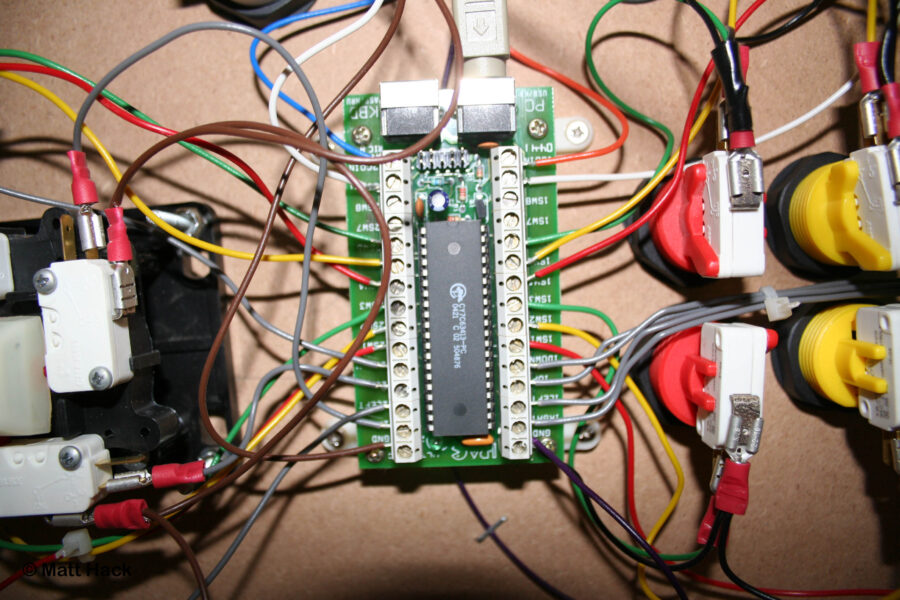
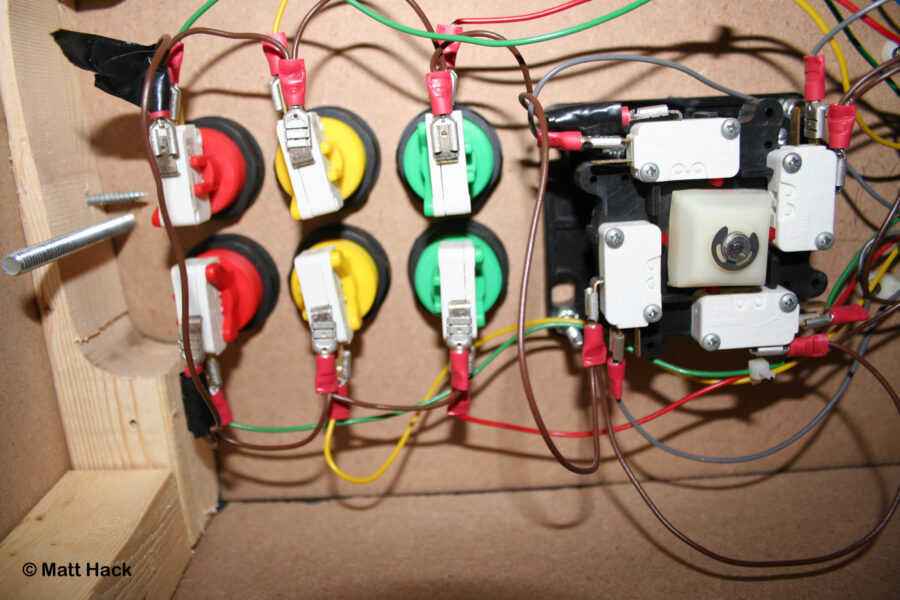
If you don’t want to make a whole arcade cabinet for your MAME machine you can always just use your keyboard and play some arcade games on your desktop/laptop, but if you do want to make the cabinet, with those sexy and sleek arcade style controls you’re going to have to interface the buttons and joysticks to your computer somehow. After doing a lot of research, I decided to go with the I-Pac. The I-Pac is a microcontroller with inputs that correspond to each of your machine’s buttons and joystick movements. It takes these inputs and maps them out as a keyboard. Aka, you press the red button, and your computer receives a “G”, or you push the joystick up, and your computer receives the “up” command on the keyboard. Using the MAME software, you can bind different keystrokes to different functions in the game, and after that, you will have a fully functioning arcade control panel.
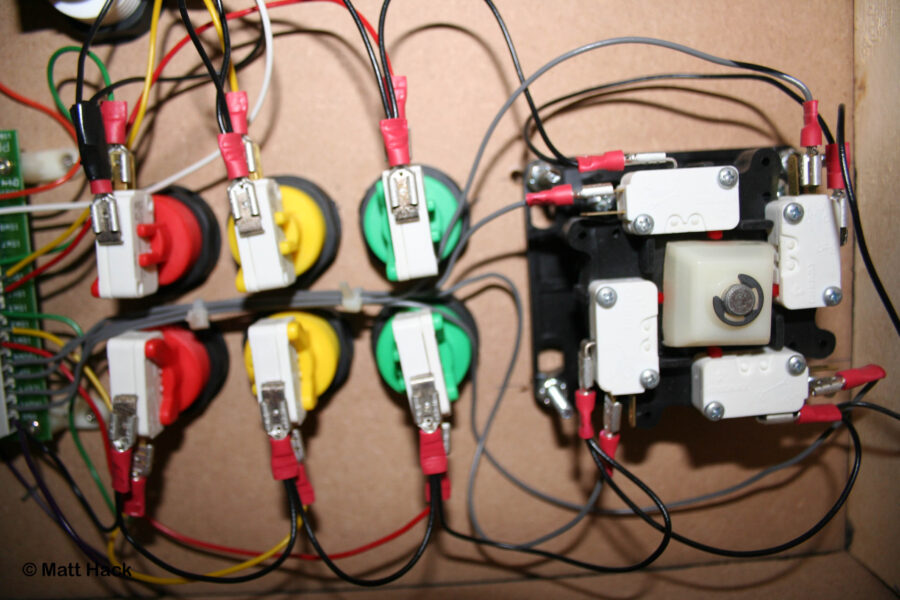
For the buttons and joysticks, I had to go with the real deal. I bought everything from Happ Controls. Happ distributes and manufactures pretty much any and every arcade part you will ever need, and they are all designed for real-world arcade use, so you know they are of the best quality and are pretty much going to last forever. Best of all, they’re not even really that expensive. For more info on arcade controls check out arcadecontrols.com or just google it, there is plenty of good info out there.
In my particular setup, I’m running a garbage bin Dell with a Celeron 800mhz processor, 384MB of RAM, 20gig hard drive, sound blaster live, and a Radeon 7000 64MB. The display is a 19-inch HP CRT monitor that I bought used for around 75 bucks (It weighs… a lot…). The OS is Windows ME (stripped of bloatware). It runs all the old games no problem, but struggles on some of the newer ones. If I end up getting a new gaming pc I’ll plop my current one in there and use the Dell as a door stop.
P.S. If you don’t want to build an entire MAME arcade but you still want that uber-sexy control panel, you could build a box out of MDF, mount the buttons and joysticks on it, wire it up to the I-Pac and give it a custom paint job. You almost get the same feel as the big version but with the bonus of portability.


The I-Pac 2-player and 4-player edition.
How To Do It Yourself
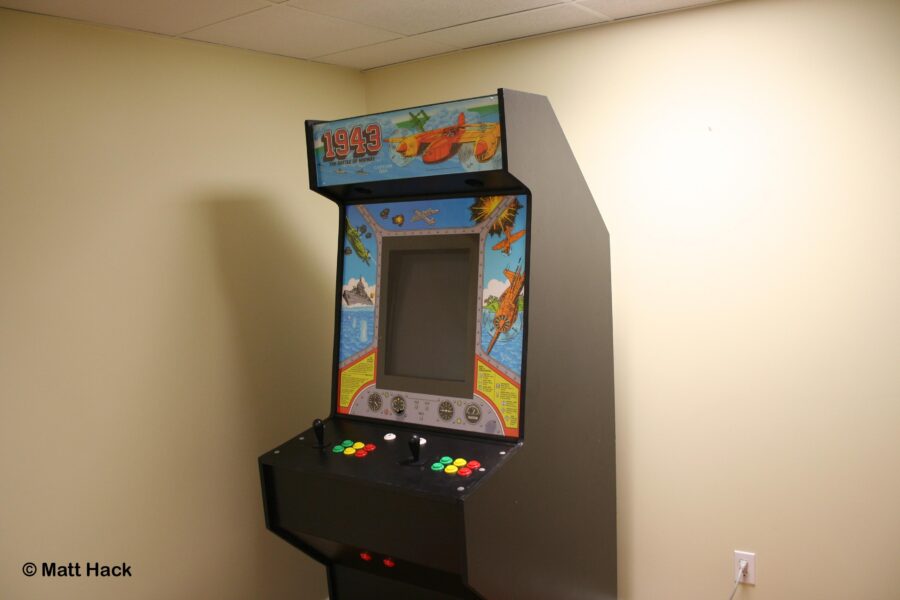
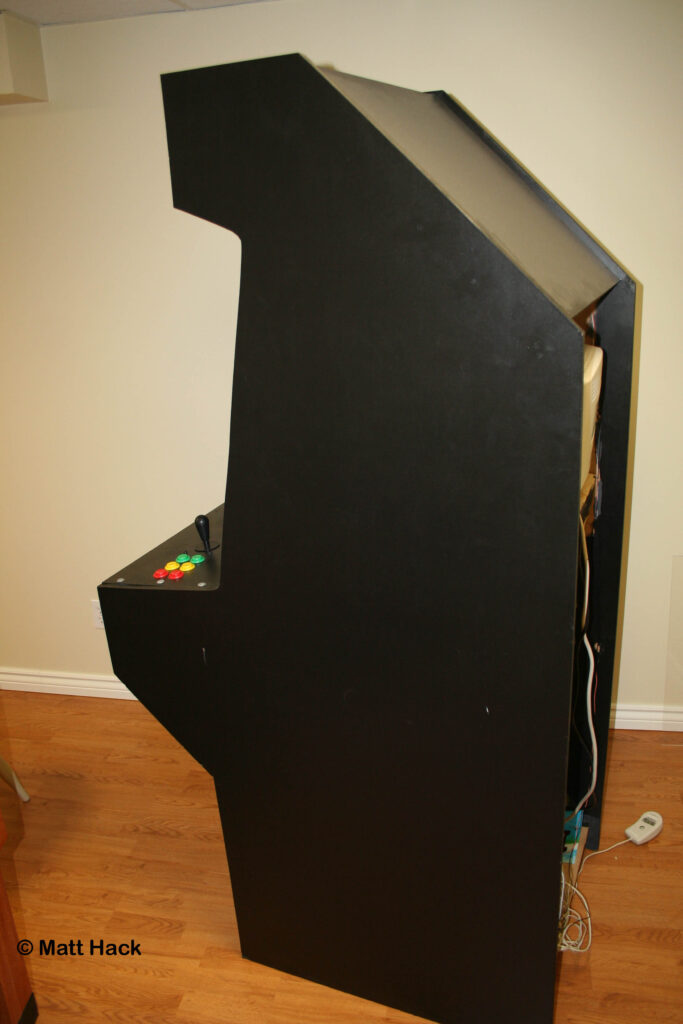
I started off with the idea of retrofitting an old arcade cabinet with a computer running MAME and interfacing the old controls with an I-Pac, but there wasn’t really anything for sale around here that was of decent quality and under 300 bucks, so I decided I’d just build my own cabinet. (It’s more fun that way anyway…) I suggest checking out forums and googling other people’s MAME cabinets before you start your own to get some ideas of the different designs and form factors, that’s what I did. After probably a week or so of browsing, I decided to go with a simple 2-player cabinet that could hold at least a 19-inch monitor. There were plenty of sites with free plans, but they were generally poorly written, unclear, or not the design that I wanted, so I decided to buy a set of full-sized blueprints that were very close in design to what I wanted to build. (I tried to find the site again, but I don’t think that they exist anymore). Anyways… they came in the mail a few weeks later, and I got to work. The full-sized plans worked out very well, and I highly recommend them because I could tape them straight down onto the MDF (medium-density fiberboard) and make modifications to the design on the fly without having to take any measurements or scale up the plans. For example, the plans called for an X-Arcade drop in, so I just covered over that section with MDF and created my own by drilling holes for the buttons and joysticks and hooking them up with the I-Pac.
K so… All the build steps in point form:
-Buy the MDF
-Lug it home (It weighs a ton…)
-Draw out the plans onto the wood (modify the plans if you so desire)
-Cut out all the pieces
-Pre-drill holes for screws (counter sink bit is a must)
-Use 1×1 in the inside corners of the cabinet to screw into. As shown in my crude drawing.

-Drill the holes for the control panel
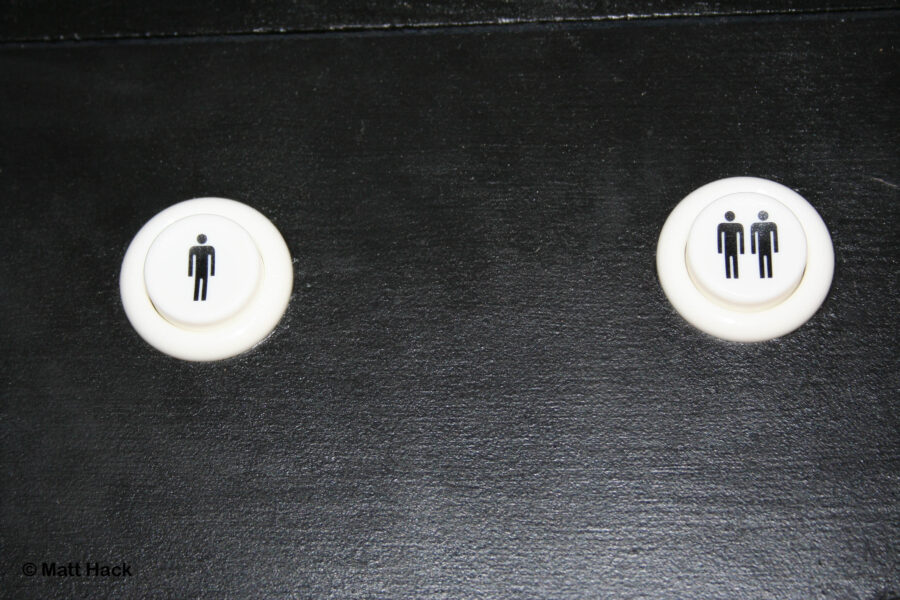
-Paint the control panel
-Assemble the control panel
-Wire it up to the I-Pac
-Install the control panel into the arcade
-Fill the screw holes on the cabinet with wood filler
-Once it’s dry, sand it
-Repeat the filling and sanding until it’s perfectly flat (if they aren’t perfect you’ll notice it once you paint it… trust me…)
-Paint the cabinet (use a roller to get a nice finish)
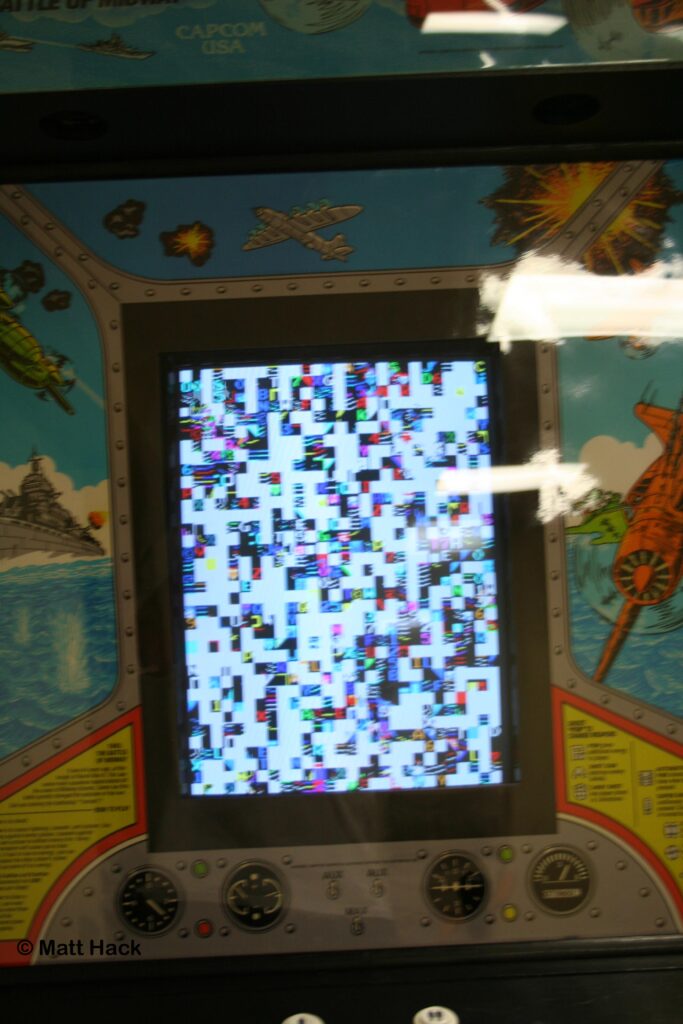
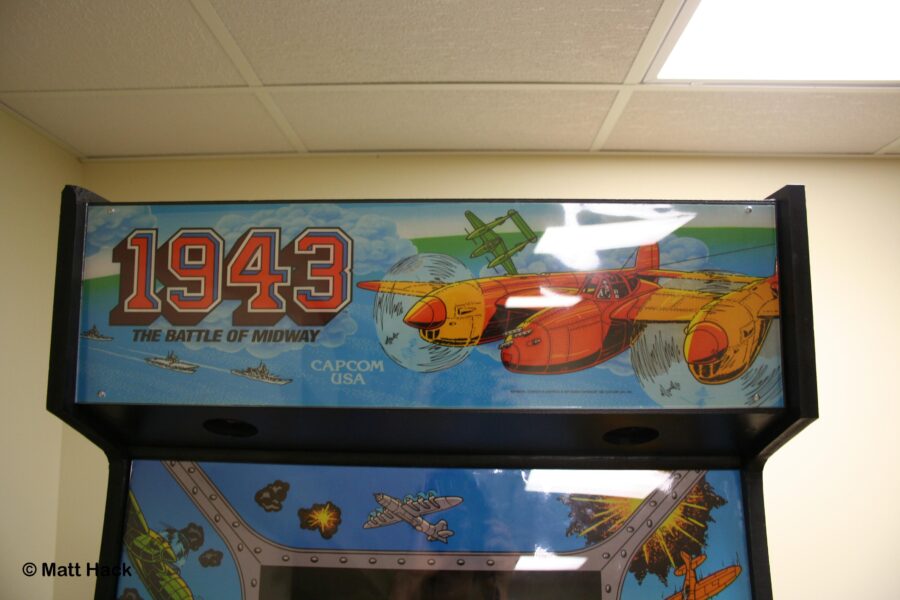
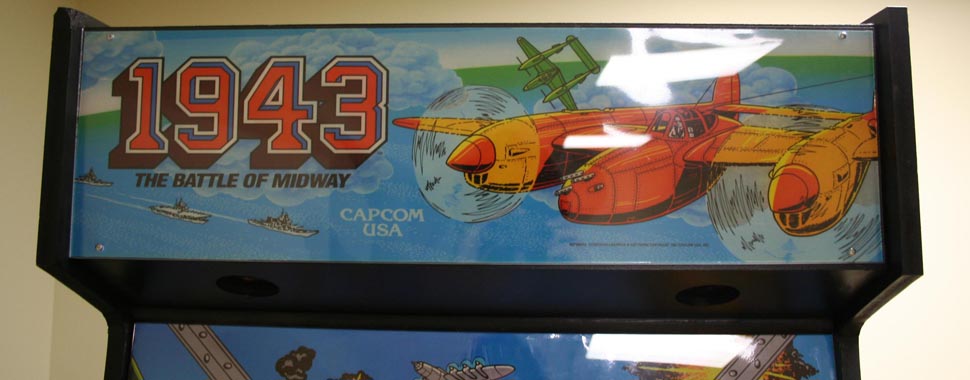
-Install the speakers, Plexiglas, bezel and marquee graphics (www.mamemarquees.com)
-If your monitor housing isn’t black, tape off the glass and spray paint it black. (So it stays hidden behind the plexiglass)
-Mount and align your monitor with the bezel
-Wire up the computer with MAME installed
-Invite your friends over… you’re done!!!
* WEAR A MASK while cutting MDF; the fumes are toxic, and believe me… the dust wrecks your lungs. (I took off my mask to drill 2 holes, inhaled a bit of dust, and had to miss two days of school because my throat hurt so much)
Hints And Tricky Bits
-MDF burns pretty easily; watch out when you’re cutting it. It’s no biggie cause you’re going to paint over it anyways, but wow does it stink and give off toxic fumes.
-Always pre-drill holes in the Plexiglass (slowly). This prevents it from cracking (total bummer).
-ALWAYS WEAR A MASK while cutting, drilling, or sanding MDF. The stuff messes with your lungs bad!
Pictures