To learn the basics of coil gun physics, check out the coil gun v1.0 page here.
I was pretty impressed with my first coil gun’s performance. It could pop a screw across a room or shoot a paperclip at some kid across the classroom quite nicely, but I always dreamt of having more power. Finding a deal on a whole bunch of expired disposable cameras was the inspiration to try again. At 1 dollar each, I had to get 13… Why 13, you may ask? I have no idea, but it was probably the amount of money I had in my wallet at the time. The cameras sat in a bag in my room until a reading week, when I set out to build my most powerful coil gun yet.
This is how I built the coil gun v2.0 with step-by-step instructions, pictures, and video.
Note/Disclaimer: Even though I show you how to create a coil gun step by step with pictures and video… don’t do it. High voltage is dangerous! Projectiles are dangerous!
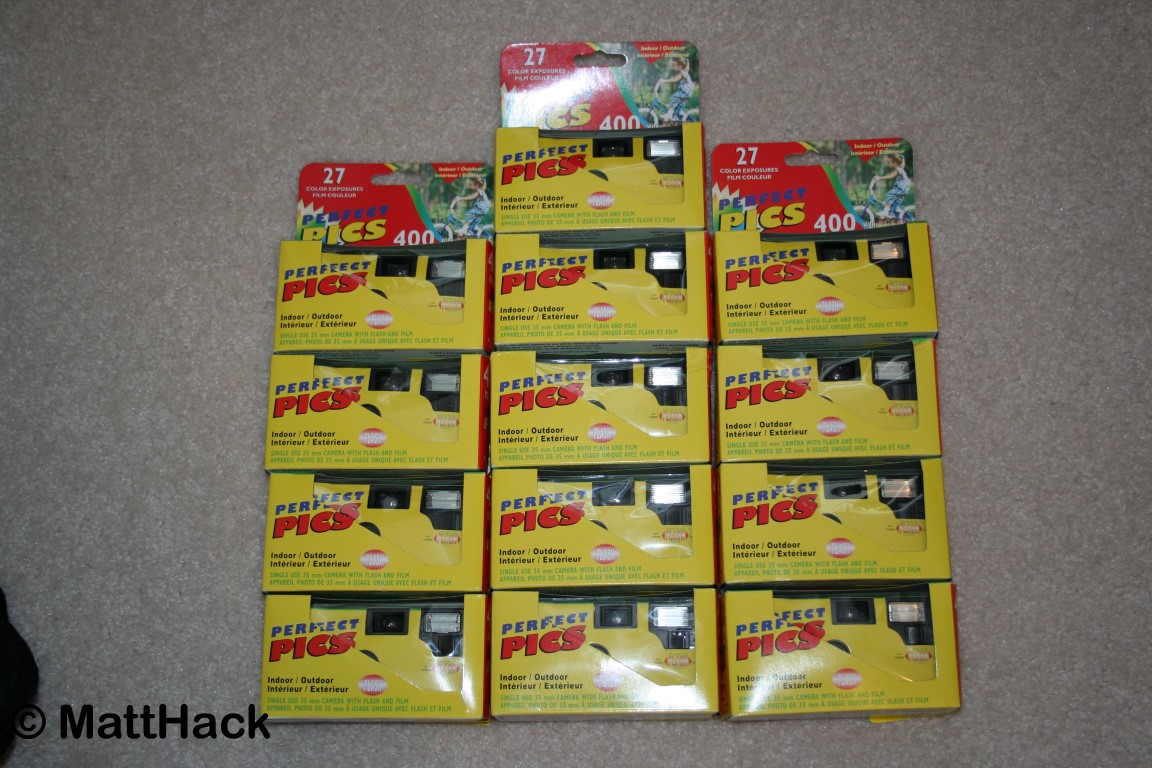
13 disposable cameras (I only ended up using 10 in the coil gun; the other 3 are for another project idea )

At a dollar, you can’t possibly go wrong.
The disassembly

The 27 exposure “Perfect Pics” camera

Ok, now you have to get to the camera’s guts by taking it apart.

First, remove the cardboard wrapper.

Be sure to read all warning labels carefully… Then, disregard them.
To open the back of the case, you have to push in all these tabs around the camera at once and then pull. (I used a small flathead screwdriver to pry them open)

Once the back of the camera is removed, you can see the film. Remove it.

Remove the battery.

With the battery and film removed, you can now unscrew the front of the camera using a small Phillips screwdriver.

You can now remove the circuit board from the camera. (front view of circuit^^)

Back view of circuit.

Now, we have to “harvest” the capacitor. This is done by desoldering the two points indicated.

Straighten out the capacitor leads using needle-nosed pliers, and you’re done with the disassembly.

Repeat this process for all the cameras, and you’ll end up with all this. It was a pretty good source of components for a dollar.

Oh, and ya… You’ll also unfortunately end up with this big pile of garbage.

The Build
Now that we have all the needed parts, we need to build the Coil Gun.

The enclosure is necessary to protect the components from the outside world and the outside world from the components (aka fingers getting blown up). I used an enclosure from a local electronics store. It cost around $8 and has plenty of room for all the hardware.

Now you have to build the capacitor bank. The capacitors must be wired in parallel (+ to + and – to -). I used a stiff, heavy gauge wire that I bent into shape using needle-nosed pliers. This allows the capacitor bank to keep its shape, and it is a lot easier to solder together than with individual wires.

Once you have constructed the capacitor bank, you must connect it to the capacitor connector on the charging circuit. Personally, I used some medium gauge wire that I had lying around, but you can use anything really (as long as it can handle the current). You also have to make sure that the capacitor bank is connected with the right polarity. (+ to+ and- to -). Then, you have to wire up the charging switch. You can use any type of wire for this as the switch has a super low current, but I chose to use some scrap magnet wire because it was thin enough to solder to the switch pads. The other end of this wire is connected to the switch on the enclosure and is used to start or stop the charging cycle.

The charging and firing switches are capable of withstanding up to 10 Amps. (Smaller switches become welded shut when the coil gun is fired)

My power supply of choice is a D-cell battery. The D size will give many more shots than an AA before having to be replaced. Also, using a battery will also allow the coil gun to be portable. To wire the battery all you have to do is solder the + and – from the holder to the + and – on the charging circuit.

Now, the only part left to wire is the actual coil. In my coil gun, I wired a series switch with the capacitor bank and the coil. When the switch is turned on, the capacitors are directly discharged into the coil.

The “gun” part of the coil gun was made using a BIC pen. The pen was disassembled, and everything but the tube was thrown out. The pen tube will act as the barrel of the gun.

I drilled a small hole at the end of the pen tube to help reduce the suction effect that is produced when the projectile is leaving the barrel.

I used magnet wire to build the actual coil and wrapped it around the bottom of the tube about 1.5 cm from the end. The coil was about 3 cm wide, and after every layer, I “laminated” it with scotch tape. This helps the coil keep its shape as well as preventing shorts. When you make your coil, you always have to remember to wrap the wire in the same direction in every layer. (clockwise or counterclockwise) Also, you should ensure that the turns are tight and close together but do not cross each other. If you follow these rules, you will end up with a very powerful coil. My coil had 8 layers.

At the last minute, I decided to add a diode across the firing switch. The diode protects the capacitors from feedback created in the coil after firing.

Once everything was wired up and taped in the enclosure, I covered most exposed parts with electrical tape to reduce the chances of a short. (Or the dreadful blown-up finger)

The projectile. (A machine screw cut with a hacksaw)

The finished coil gun.
Now I have to test it and tweak it.
To Do:
-Tweak the coil position.
-Try out different coils.
-Build a better, more efficient projectile.